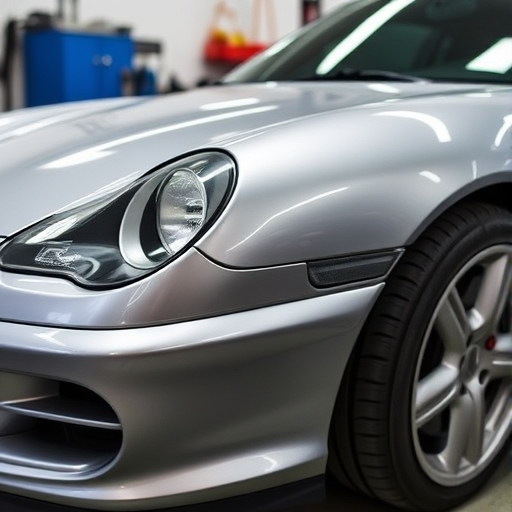
How to Prep a Car for Paint
Painting a car is a rewarding project that can breathe new life into a vehicle. However, the success of a paint job heavily relies on the preparation process. Properly prepping your car for paint ensures that the finish is smooth, long-lasting, and free from imperfections. In this article, we will delve into the steps necessary to prepare a car for paint, tips for achieving the best results, and common FAQs related to the process.
Why Proper Preparation is Important
Before diving into the steps of car prep, it’s essential to understand why preparation is crucial. Here are a few reasons:
- Adhesion: Properly prepared surfaces allow paint to adhere better, reducing the risk of peeling or chipping.
- Finish Quality: A well-prepped surface results in a smoother, more professional-looking finish.
- Durability: Good prep work helps the paint withstand exposure to environmental factors, such as UV rays, moisture, and road debris.
- Cost-Effectiveness: Investing time in preparation can save you money in the long run by avoiding costly rework.
- Tools:
- Sandpaper (various grits: 80, 120, 220, and 400)
- Sanding block or electric sander
- Masking tape
- Plastic sheeting or drop cloths
- Paint sprayer or spray cans
- Paint thinner or solvent
- Clean cloths or rags
- Safety goggles and a respirator mask
- Primer and paint
- Materials:
- Automotive paint
- Clear coat
- Primer
- Body filler (if needed)
- Wheels and Tires: Remove brake dust and road grime.
- Underbody: A clean undercarriage will help with overall adhesion.
- Rust spots
- Dents and scratches
- Old paint that is peeling or bubbling
- Use sandpaper or a wire brush to remove rust until you reach bare metal.
- Apply a rust-inhibiting primer to prevent further corrosion.
- Clean the area around the dent.
- Mix the body filler according to the manufacturer’s instructions.
- Apply the filler, overfilling slightly.
- Once dry, sand it down until smooth and flush with the surrounding surface.
- Use the Right Grit: Start with 80-grit sandpaper for rough areas and progress to 220-grit for smoothing.
- Sand Evenly: Aim for an even surface without deep grooves.
- Avoid Over-Sanding: Be cautious not to sand through to the bare metal, especially on edges.
- Use a sanding block for flat surfaces.
- For curved areas, use a flexible sanding sponge.
- Always sand in one direction to avoid swirl marks.
- Mask off trims and windows: Use painter’s tape to cover edges and sensitive areas.
- Cover surrounding areas: Use plastic sheeting to cover parts of the car you want to keep paint-free.
- Choose the Right Primer: Use an automotive primer compatible with your paint.
- Apply Evenly: Use a spray gun or spray can to apply a thin, even coat.
- Let it Dry: Follow the manufacturer’s instructions for drying times.
- Sand Again: Once dry, sand the primer with 400-grit sandpaper for a smooth finish.
- Choose Your Paint: Select a high-quality automotive paint.
- Mix the Paint: If using a spray gun, mix according to the manufacturer’s instructions.
- Apply the Paint:
- Hold the spray gun or can about 6-12 inches from the surface.
- Apply multiple thin coats rather than one thick coat for better results.
- Allow each coat to dry according to the manufacturer’s recommendations.
- Apply Evenly: Just like with paint, apply the clear coat in thin, even layers.
- Allow to Cure: Follow the recommended curing time before handling the car.
- Use a high-quality polishing compound and a foam applicator.
- Buff in small sections, applying consistent pressure.
Steps to Prep a Car for Paint
1. Gather the Necessary Tools and Materials
Before you start, ensure you have the following tools and materials:
2. Choose a Suitable Workspace
Select a well-ventilated area to work on your car. Ideally, this should be a garage or a dedicated workspace that is free from dust and debris. If you’re working outdoors, choose a day with low humidity and no chance of rain.
3. Clean the Car Thoroughly
Start by washing the car to remove dirt, grease, and grime. Use a car wash soap and a sponge to clean every surface. Pay special attention to:
After washing, dry the car with a microfiber towel.
4. Inspect the Surface
Once the car is clean, inspect the surface for any imperfections such as:
5. Address Imperfections
5.1. Rust Removal
If you find rust, it’s crucial to remove it before painting. Here’s how:
5.2. Filling Dents and Scratches
For dents and scratches, use body filler:
6. Sanding the Surface
Sanding is one of the most critical steps in preparation. Follow these guidelines:
Sanding Techniques
7. Clean the Surface Again
After sanding, thoroughly clean the surface again to remove dust and debris. Use a clean cloth and a solvent or paint thinner to wipe down the area. This step is crucial for ensuring proper paint adhesion.
8. Masking
To protect areas that you don’t want to paint, use masking tape and plastic sheeting:
9. Priming the Surface
Priming is essential for sealing the surface and providing a good base for the paint. Here’s how to apply primer:
10. Painting the Car
Now you’re ready to paint! Follow these steps:
11. Clear Coating
After the final paint coat has dried, apply a clear coat to protect the paint and enhance gloss:
12. Finishing Touches
After the clear coat has dried, remove any masking tape and plastic sheeting. Inspect the finish for any imperfections and address them as necessary.
13. Curing and Polishing
Allow the paint to cure fully, which may take several days. Once cured, you can polish the surface to enhance the shine:
Comparison Table: Types of Paint
| Type of Paint | Pros | Cons | Best For |
|---|---|---|---|
| Acrylic Enamel | Easy to apply, durable | Can fade over time | DIY projects |
| Urethane | Long-lasting, UV resistant | Requires a hardener | Professional jobs |
| Lacquer | Quick-drying, high gloss | Less durable, more prone to chipping | Show cars |
| Water-based | Environmentally friendly, low odor | May require more coats, less durable | Everyday vehicles |
FAQ
How long does it take to prep a car for paint?
The time it takes to prep a car can vary greatly depending on the condition of the vehicle. On average, it can take anywhere from a few hours to several days.
Do I need to use a primer before painting?
Yes, using a primer is essential as it helps the paint adhere to the surface and provides a uniform base for the topcoat.
Can I paint my car without sanding?
While it’s technically possible to paint without sanding, it is highly discouraged. Sanding helps create a better surface for paint adhesion.
What should I do if I make a mistake while painting?
If you make a mistake, let the paint dry, then sand it down and apply another coat. For deeper imperfections, you may need to go back to the prep stage.
Is it better to spray paint or use a paint gun?
Using a paint gun typically provides a more even and professional finish compared to spray cans. However, spray cans are more accessible for DIYers and smaller projects.
Conclusion
Preparing a car for paint is a multi-step process that, when done correctly, can yield impressive results. By following the steps outlined in this article, you can ensure that your paint job adheres well, looks great, and lasts for years to come. Remember, the key to success lies in thorough preparation, so take your time and pay attention to detail. Happy painting!