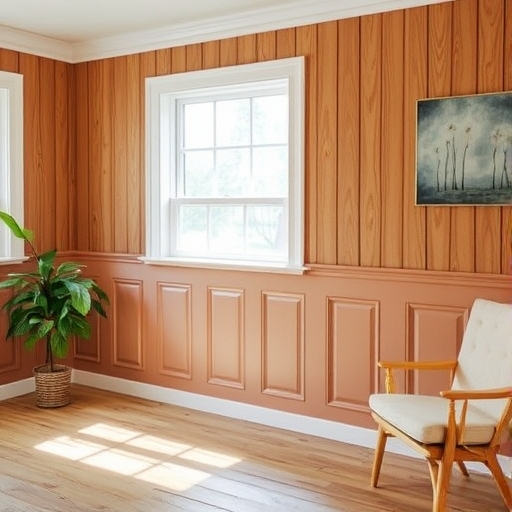
How to Paint Wood Paneling: A Comprehensive Guide
Wood paneling can add warmth and character to a room, but it can also feel outdated and darken your space. If you’re looking to brighten up a room and give it a fresh, modern look, painting your wood paneling can be an excellent solution. In this guide, we’ll walk you through the entire process of painting wood paneling, from preparation to finishing touches.
Why Paint Wood Paneling?
Before diving into the “how,” it’s important to understand the “why.” Here are some reasons to consider painting wood paneling:
- Aesthetic Update: Painting can completely transform the look of a room, making it feel more contemporary.
- Lightening Up: Lighter colors can brighten a space, making it feel larger and more inviting.
- Cost-Effective: Painting is a more affordable option than replacing paneling or renovating.
- Personalization: You can choose colors that reflect your style and personality.
- Paint roller and tray
- Paintbrush (angled for corners and details)
- Sandpaper (medium and fine grit)
- Primer (preferably oil-based)
- Paint (latex or acrylic)
- Caulk and caulking gun
- Drop cloths or plastic sheeting
- Painter’s tape
- Ladder (if necessary)
- Wood filler (for repairing holes and imperfections)
- Cleaning solution (like TSP or a vinegar-water mixture)
- Rags or paper towels
- Dust mask and safety goggles
- Test Colors: Always test paint colors on a small area before committing to the entire wall.
- Ventilation: Ensure adequate ventilation while painting, especially if using oil-based products.
- Patience is Key: Allow ample drying time between coats for the best results.
Tools and Materials Needed
To successfully paint wood paneling, you’ll need the right tools and materials. Here’s a list to get you started:
Tools:
Materials:
Step-by-Step Guide to Painting Wood Paneling
Now that you have your tools and materials ready, let’s go through the steps to paint wood paneling effectively.
Step 1: Prepare the Room
1. Remove Furniture: Clear the room of all furniture or move it to the center and cover it with drop cloths.
2. Protect the Floors: Lay down drop cloths or plastic sheeting to protect your floors from paint splatters.
3. Tape Off Areas: Use painter’s tape to mask off areas where you don’t want paint, such as baseboards, window frames, and doors.
Step 2: Clean the Paneling
1. Dust and Dirt: Wipe down the paneling with a damp cloth to remove any dust or dirt.
2. Deep Clean: Use a cleaning solution (like TSP) to scrub the paneling, ensuring it’s free from grease and grime. Rinse with clean water and let it dry completely.
Step 3: Repair Any Damage
1. Fill Holes and Cracks: Use wood filler to patch any holes or cracks in the paneling. Allow it to dry according to the manufacturer’s instructions, then sand it smooth.
2. Sand the Surface: Lightly sand the entire surface of the paneling with medium grit sandpaper. This will help the primer and paint adhere better. Follow up with fine grit sandpaper for a smooth finish. Wipe away dust with a damp cloth.
Step 4: Prime the Paneling
1. Choose the Right Primer: For wood paneling, an oil-based primer is often recommended as it seals the wood and prevents bleed-through.
2. Apply Primer: Use a roller for large areas and a brush for corners and edges. Ensure an even coat and allow it to dry completely (check the primer’s instructions for drying time).
Step 5: Paint the Paneling
1. Select Your Paint: Choose a high-quality latex or acrylic paint for the topcoat. Satin or semi-gloss finishes work well, as they are durable and easy to clean.
2. Start Painting: Use a roller to apply paint to the larger sections and a brush for edges and details. Apply at least two coats for full coverage, allowing each coat to dry according to the paint manufacturer’s instructions.
3. Inspect and Touch Up: After the final coat, inspect for any missed spots or areas that need touch-ups.
Step 6: Finishing Touches
1. Remove Painter’s Tape: Carefully peel away painter’s tape while the paint is still slightly wet to avoid tearing.
2. Clean Up: Clean your brushes and rollers with soap and water if you used latex paint, or with mineral spirits for oil-based paint.
3. Rearrange the Room: Once the paint is fully dried, put your furniture back in place and enjoy your newly refreshed space!
Tips for Success
Comparison of Paint Types
| Feature | Latex Paint | Oil-Based Paint |
|---|---|---|
| Drying Time | Quick (1-2 hours) | Slow (6-8 hours) |
| Clean-Up | Soap and water | Mineral spirits |
| Odor | Low | Strong |
| Durability | Moderate | High |
| Finish Variety | Satin, eggshell, semi-gloss | Satin, gloss, semi-gloss |
FAQ
Can you paint over stained wood paneling?
Yes, you can paint over stained wood paneling, but it’s essential to properly prepare the surface by cleaning, sanding, and priming to ensure good adhesion.
How long does painted wood paneling last?
With proper preparation and quality paint, painted wood paneling can last anywhere from 5 to 10 years before needing a refresh.
Do I need to sand wood paneling before painting?
Yes, sanding is crucial as it helps the primer and paint adhere better to the surface. It also smooths out any imperfections.
Is it necessary to use a primer?
Using a primer is highly recommended, especially for wood paneling, as it seals the surface and prevents bleed-through from the wood.
What colors work best for painting wood paneling?
Light colors like whites, creams, and soft pastels are popular choices for brightening up spaces. However, bold colors can also be used to create a dramatic effect.
Conclusion
Painting wood paneling can be a rewarding DIY project that transforms the look and feel of your space. With the right preparation, tools, and techniques, you can achieve a beautiful finish that breathes new life into your home. Whether you’re looking to lighten up a dark room or add a personal touch, painting wood paneling is an effective and cost-efficient way to achieve your design goals. Happy painting!