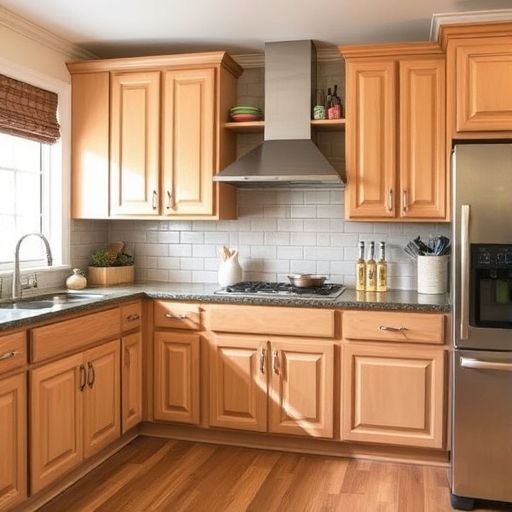
How to Paint Unfinished Cabinets: A Comprehensive Guide
Painting unfinished cabinets can be a rewarding DIY project that transforms your space and enhances the functionality of your kitchen or bathroom. This guide will walk you through the process step-by-step, providing tips and tricks to ensure a professional finish.
Why Paint Unfinished Cabinets?
Unfinished cabinets are raw wood products that lack a protective finish. Painting them can:
- Enhance Aesthetics: Choose colors that match your decor and style.
- Increase Durability: A good paint job can protect wood from moisture and wear.
- Cost-Effective: Rather than replacing cabinets, painting is a more budget-friendly option.
- Paintbrush (2-3 inch angled brush)
- Foam roller
- Sandpaper (120 and 220 grit)
- Paint tray
- Putty knife
- Screwdriver
- Rags or paper towels
- Drop cloths or plastic sheeting
- Primer (oil-based or latex-based)
- Paint (latex or acrylic)
- Paint thinner (if using oil-based products)
- Wood filler (for any imperfections)
- Clear topcoat (optional for extra durability)
- Start by removing all cabinet doors and hardware using a screwdriver.
- Organize screws and hinges in labeled bags to avoid confusion during reassembly.
- Wipe down the cabinets with a damp cloth to remove dust and debris.
- Allow them to dry completely before proceeding.
- Inspect the cabinets for any dents or blemishes.
- Use wood filler to fill in these imperfections.
- Once dry, sand the filled areas smooth with 220-grit sandpaper.
- Lightly sand the entire surface of the cabinets using 120-grit sandpaper.
- This step helps the primer adhere better to the wood.
- Wipe off any dust with a damp cloth after sanding.
- For unfinished wood, an oil-based primer is often recommended due to its ability to seal the wood effectively.
- However, latex primer can also work if you prefer a low odor option.
- Use a brush to paint hard-to-reach areas and a foam roller for larger flat surfaces.
- Apply a thin, even coat and allow it to dry according to the manufacturer’s instructions.
- Lightly sand the primed surface with 220-grit sandpaper to ensure a smooth finish.
- Latex paint is commonly used for cabinets due to its durability and ease of cleanup.
- Acrylic paint is another good option, especially for a more robust finish.
- Using the same technique as with the primer, apply the first coat of paint.
- Use a brush for corners and edges and a foam roller for flat surfaces.
- Allow the first coat to dry completely, usually 2-4 hours depending on conditions.
- Lightly sand the surface with 220-grit sandpaper between coats to achieve a smooth finish.
- Most cabinets will require at least two coats of paint for proper coverage.
- Repeat the process of applying paint, drying, and sanding between each coat.
- For added durability, consider applying a clear topcoat.
- Choose a water-based polyurethane for easy application and less odor.
- Apply with a clean brush or roller and allow it to dry completely.
- Once everything is dry, reattach the cabinet doors and hardware.
- Ensure everything is aligned properly and functioning correctly.
- Choose Quality Products: Invest in high-quality paint and primer for the best results.
- Work in a Well-Ventilated Area: Ensure good airflow to reduce fumes and speed up drying times.
- Test Colors: Before committing, paint a small area to see how the color looks in different lighting.
- Be Patient: Allow ample drying time between coats to ensure a smooth and durable finish.
Tools and Materials You Will Need
Before you start painting, gather the following tools and materials:
Tools
Materials
Step-by-Step Guide to Painting Unfinished Cabinets
Step 1: Preparation
Remove Cabinet Doors and Hardware
Clean the Surface
Fill Imperfections
Step 2: Sanding
Step 3: Priming
Choose the Right Primer
Apply Primer
Step 4: Painting
Choose Your Paint
Apply the First Coat
Drying and Sanding
Apply Additional Coats
Step 5: Finishing Touches
Apply a Clear Topcoat (Optional)
Reattach Doors and Hardware
Tips for a Successful Paint Job
Comparison of Paint Types
| Type of Paint | Pros | Cons |
|---|---|---|
| Latex | Low odor, easy cleanup, quick drying | May not adhere as well on raw wood |
| Oil-Based | Excellent adhesion, durable finish | Strong odor, longer drying time |
| Acrylic | Good durability, low VOC options | Can be more expensive |
Frequently Asked Questions (FAQ)
How long does it take to paint unfinished cabinets?
The entire process can take several days, especially with drying times between coats. Expect to spend 1-2 days on preparation, painting, and drying.
Can I skip priming unfinished cabinets?
While you may be tempted to skip primer, it is essential for sealing the wood and providing a good base for paint. Skipping this step can result in a less durable finish.
What is the best paint for kitchen cabinets?
Latex paint is generally recommended for kitchen cabinets due to its durability and easy cleanup. However, oil-based paint provides a tougher finish, making it a popular choice as well.
How do I maintain painted cabinets?
To maintain painted cabinets, clean them regularly with a damp cloth and mild soap. Avoid abrasive cleaners that can scratch the surface.
Is it necessary to sand between coats of paint?
Yes, sanding between coats helps to achieve a smooth finish and ensures better adhesion of subsequent layers.
Conclusion
Painting unfinished cabinets is a great way to refresh your space without the hefty price tag of new cabinetry. By following the steps outlined in this guide, you can achieve a professional-looking finish that enhances the beauty and functionality of your home. Remember to take your time, choose quality materials, and enjoy the transformation process! Happy painting!

