How to Paint Pressure Treated Wood
Pressure treated wood is a popular choice for outdoor projects due to its resistance to decay and insects. However, painting pressure treated wood requires special considerations to ensure that your paint adheres properly and lasts for years. In this article, we will guide you through the entire process of painting pressure treated wood, from preparation to application, and provide tips for achieving a professional-looking finish.
Understanding Pressure Treated Wood
What is Pressure Treated Wood?
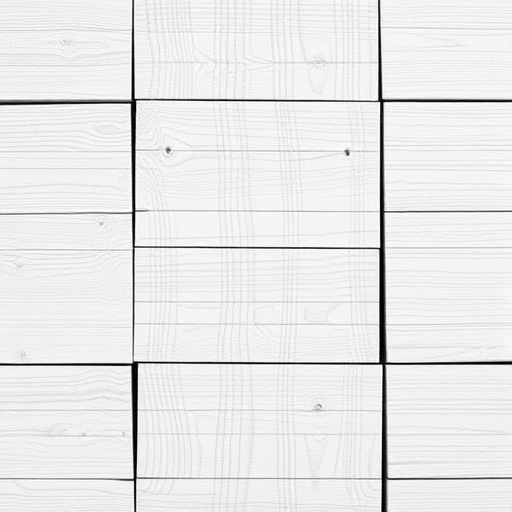
Pressure treated wood is lumber that has been infused with chemical preservatives under high pressure. This process helps to protect the wood from rot, insects, and other environmental factors. Common types of pressure treated wood include pine, fir, and spruce.
Benefits of Using Pressure Treated Wood
- Durability: Resistant to decay and insect damage.
- Longevity: Lasts longer than untreated wood in outdoor conditions.
- Versatility: Suitable for a wide range of projects, including decks, fences, and outdoor furniture.
- Decking
- Fencing
- Landscaping
- Playground equipment
- Garden beds
- The wood feels dry to the touch.
- Water beads up on the surface rather than soaking in.
- Use a pressure washer or a scrub brush with a mixture of water and mild detergent.
- Rinse thoroughly and allow the wood to dry completely.
- Use medium-grit sandpaper (80-120 grit).
- Sand along the grain of the wood to avoid scratches.
- Wipe away any dust with a damp cloth after sanding.
- Apply according to the manufacturer’s instructions.
- Allow it to dry completely before proceeding to paint.
- Climate: Choose a paint that can withstand local weather conditions.
- Finish: Decide whether you want a glossy, semi-gloss, or matte finish.
- Color: Select a color that complements your outdoor space.
- Choose a primer that is compatible with your paint type.
- Apply a thin, even coat and allow it to dry as per the manufacturer’s instructions.
- Paintbrushes (for detail work)
- Rollers (for larger areas)
- Paint tray
- Ladder (for elevated surfaces)
- Drop cloths to protect surrounding areas
- Check for any signs of wear, peeling, or chipping.
- Address any issues promptly to prevent further damage.
- Clean the painted surface regularly with mild soap and water.
- Avoid using harsh chemicals that can damage the paint.
- Depending on the climate and wear, repaint every 3-5 years to maintain appearance and protection.
Common Uses
Preparing to Paint Pressure Treated Wood
Before you start painting, proper preparation is crucial for ensuring a lasting finish. Here are the steps to prepare your pressure treated wood for painting.
Step 1: Wait for the Right Time
Curing Time: Pressure treated wood is often wet when you purchase it. It’s essential to allow the wood to dry out before painting. This can take anywhere from a few weeks to several months, depending on the climate and conditions.
Signs the Wood is Ready:
Step 2: Clean the Surface
Cleaning the wood removes dirt, mildew, and any residues that could prevent paint adhesion.
Step 3: Sand the Wood
Sanding helps to smooth out the surface and improve paint adhesion.
Step 4: Apply a Wood Conditioner (Optional)
Using a wood conditioner can help create a uniform surface for paint application, especially if you’re using a stain.
Choosing the Right Paint
Types of Paint Suitable for Pressure Treated Wood
When selecting paint for pressure treated wood, consider the following options:
| Paint Type | Description | Pros | Cons |
|---|---|---|---|
| Acrylic Latex | Water-based, flexible paint | Good adhesion, easy to clean, low odor | May not adhere well if wood is still wet |
| Oil-based | Traditional paint with a strong finish | Excellent durability and coverage | Longer drying time, requires solvents for cleanup |
| Solid Stain | Provides color while allowing wood grain to show | Penetrates the wood, less peeling | May require more frequent reapplication |
Considerations for Choosing Paint
Painting Pressure Treated Wood
Now that you have prepared the wood and selected the right paint, it’s time to start painting.
Step 1: Apply Primer (if needed)
Using a primer can enhance paint adhesion and improve coverage, especially for oil-based paints.
Step 2: Start Painting
Tools You Will Need
Painting Technique
1. Start with Edges: Use a brush to paint the edges and corners of the wood first.
2. Use a Roller: For larger surfaces, use a roller for a smooth and even application.
3. Apply Thin Coats: It’s better to apply multiple thin coats than one thick coat to avoid drips and uneven coverage.
4. Follow the Grain: Always paint in the direction of the wood grain for the best finish.
Step 3: Allow to Dry
Ensure that you allow sufficient drying time between coats. Check the paint can for specific drying times, which can vary based on humidity and temperature.
Step 4: Apply Additional Coats
Most paints require at least two coats for optimal coverage and durability. Repeat the painting process for the second coat.
Maintenance Tips for Painted Pressure Treated Wood
Regular Inspection
Cleaning
Repainting
Frequently Asked Questions (FAQ)
Can I paint pressure treated wood immediately after installation?
It is not recommended to paint pressure treated wood immediately. Allow the wood to dry out fully before painting, which can take several weeks to months.
What type of paint lasts longest on pressure treated wood?
Oil-based paints tend to be more durable and longer-lasting compared to latex paints. However, quality acrylic latex paints can also provide excellent results if applied correctly.
Do I need to use a primer on pressure treated wood?
Using a primer can improve adhesion and coverage, especially if you are using oil-based paint. However, some high-quality paints are designed to be applied directly without a primer.
How do I know if my pressure treated wood is dry enough to paint?
If water beads up on the surface rather than soaking in, the wood is likely still too wet to paint. If it feels dry to the touch and has no visible moisture, it’s ready for painting.
Can I use stain instead of paint on pressure treated wood?
Yes, solid stains are a great option for pressure treated wood as they penetrate the wood and can provide good protection while allowing the natural grain to show through.
Conclusion
Painting pressure treated wood can enhance its appearance and extend its lifespan. By following the proper preparation, choosing the right materials, and applying the paint correctly, you can achieve a beautiful, durable finish. Regular maintenance will ensure your painted wood continues to look great for years to come. Whether you’re working on a deck, fence, or furniture, this guide will help you paint pressure treated wood like a pro. Happy painting!