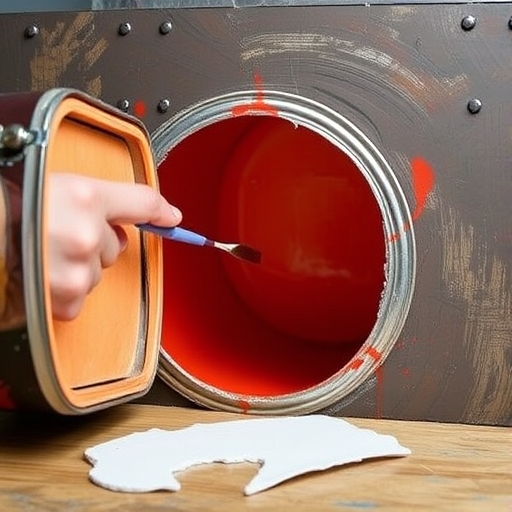
How to Open a Can of Paint: A Comprehensive Guide
Opening a can of paint may seem like a simple task, but doing it correctly is essential for ensuring a smooth painting experience. Whether you are a seasoned DIY-er or a first-time painter, knowing how to properly open a can of paint can save you time and frustration. In this guide, we will walk you through the steps of opening a can of paint, the tools you’ll need, and some tips for a successful painting project.
Table of Contents
- [Understanding Paint Can Design](#understanding-paint-can-design)
- [Tools You Will Need](#tools-you-will-need)
- [Step-by-Step Guide to Opening a Paint Can](#step-by-step-guide-to-opening-a-paint-can)
- [Common Mistakes to Avoid](#common-mistakes-to-avoid)
- [Tips for Storing Leftover Paint](#tips-for-storing-leftover-paint)
- [Frequently Asked Questions](#frequently-asked-questions)
- [Conclusion](#conclusion)
- Metal Cans: Most commonly used for oil-based paints, metal cans have a lid that fits tightly and requires a bit of effort to open.
- Plastic Cans: Often used for water-based paints, plastic cans have a snap-on lid that is easier to remove.
- Choose a clean workspace: Select a flat surface that is clean and free from clutter.
- Lay down a drop cloth: Protect your work surface from potential spills and drips.
- Check for rust or damage: Ensure the can is not rusted or damaged, as this can affect the paint quality.
- Read the label: Familiarize yourself with the paint type and any specific instructions provided by the manufacturer.
- Lift the lid: Once the lid is loosened, carefully lift it off. Be cautious of any paint that may have pooled along the edge.
- Wipe the rim: Use a clean cloth to wipe away any excess paint from the rim of the can.
- Insert a stir stick: Gently stir the paint to ensure it is well-mixed. This is particularly important for paints that have been sitting for a while.
- Check consistency: Look for a uniform color and texture before proceeding to use the paint.
- Using the wrong tools: Avoid using sharp objects that can damage the can or lead to injury.
- Not stirring the paint: Failing to stir the paint can result in uneven color and texture.
- Forgetting to clean the rim: Neglecting to wipe the rim can cause the lid to stick when you try to close it later.
- Seal the can tightly: Ensure the lid is securely fastened to prevent air from entering.
- Store in a cool, dry place: Keep the paint in an area that is not exposed to extreme temperatures or humidity.
- Label the can: Write the date and color on the can for easy identification in the future.
- Separation: If the paint has separated, stir it thoroughly. If it doesn’t mix well, it may be spoiled.
- Odor: A strong, unpleasant smell may indicate that the paint has gone bad.
- Texture: If the paint feels lumpy or has an unusual consistency, it’s best to discard it.
Understanding Paint Can Design
Before you dive into the process of opening a paint can, it’s important to understand its design. Paint cans typically come in two types:
Importance of Proper Opening Techniques
Improperly opening a paint can can lead to spills, splatters, or even damage to the can itself. Additionally, a well-opened can allows for easier mixing and pouring of the paint, which is crucial for achieving the desired finish.
Tools You Will Need
To open a can of paint efficiently, you will need the following tools:
| Tool | Purpose |
|---|---|
| Paint Can Opener | Specifically designed to pry open paint cans |
| Flathead Screwdriver | Can be used if a paint can opener is unavailable |
| Hammer | To tap the paint can opener or screwdriver |
| Clean Cloth | For wiping excess paint and keeping the area tidy |
| Stir Stick | For mixing the paint after opening |
Step-by-Step Guide to Opening a Paint Can
Follow these steps to ensure you open your paint can safely and effectively:
Step 1: Prepare Your Area
Step 2: Inspect the Can
Step 3: Use a Paint Can Opener
1. Position the opener: Place the paint can opener along the edge of the lid, ensuring it is seated securely.
2. Pry it open: Gently pull the handle of the opener downward. You may need to tap the end of the opener with a hammer for leverage.
3. Work your way around: Move the opener around the lid, prying it up in several spots until the lid is loosened.
Step 4: Remove the Lid
Step 5: Stir the Paint
Common Mistakes to Avoid
Opening a can of paint may seem straightforward, but there are several common pitfalls to avoid:
Tips for Storing Leftover Paint
If you have leftover paint, proper storage is crucial for maintaining its quality:
Frequently Asked Questions
How do I know if the paint is still good?
To check if the paint is still usable, look for:
Can I use a screwdriver to open the paint can?
Yes, if you don’t have a paint can opener, a flathead screwdriver can work. However, be careful not to damage the can or injure yourself.
What should I do if the lid is stuck?
If the lid is stuck, try tapping it gently around the edges with a hammer or using a paint can opener to pry it loose.
Is it safe to use old paint?
Using old paint is generally safe as long as it hasn’t spoiled. Always check for signs of spoilage before use.
Conclusion
Opening a can of paint is a straightforward task, but it requires the right tools and techniques to do it properly. By following the steps outlined in this guide, you can ensure a smooth and efficient painting experience. Remember to take your time, avoid common mistakes, and store any leftover paint correctly for future projects.
With this knowledge in hand, you’re now ready to tackle your painting project with confidence! Happy painting!

