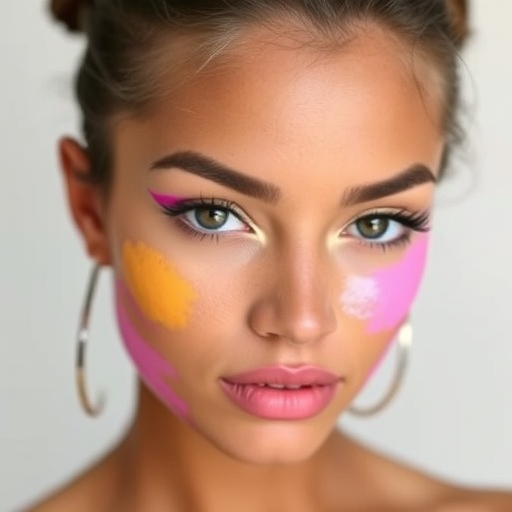
How to Make Skin Color Paint
Creating skin color paint can be a rewarding task, especially for artists, crafters, and hobbyists looking to create realistic human skin tones in their work. This article will guide you through the process of making skin color paint, the materials you need, and some tips and techniques to achieve your desired results.
Understanding Skin Tones
Before diving into the paint-making process, it’s essential to understand that human skin tones vary widely. Factors like ethnicity, age, and even lighting conditions can affect how skin appears. Here are some common categories of skin tones:
- Light: Pale, porcelain, or fair skin tones.
- Medium: Olive or tan skin tones.
- Dark: Deep brown or ebony skin tones.
- Primary Colors: Red, blue, yellow
- Secondary Colors: Green, orange, purple (made by mixing primary colors)
- Tertiary Colors: Combinations of primary and secondary colors
- Acrylic or Oil Paints: Choose a set of primary colors (red, yellow, blue) and white.
- Mixing Palette: A flat surface for mixing colors.
- Palette Knife or Brush: For mixing and applying paint.
- Water or Medium: For thinning the paint (if using acrylics).
- Containers: For storing your mixed paint.
- Brown Paint: To create depth in skin tones.
- Yellow Ochre: For warm undertones.
- Burnt Sienna: For darker shades.
- Titanium White: For adjusting brightness.
- Mars Black: For deepening the color.
- For a light skin tone, use more white.
- For medium skin tones, balance red, yellow, and a touch of blue.
- For darker tones, add brown or burnt sienna.
- Add more white for a lighter tone.
- Mix in a touch of blue for a cooler undertone.
- Incorporate brown for richness and depth.
- Highlight: Mix in more white or light yellow.
- Shadow: Add a dash of brown or black.
- Mix in Small Batches: It’s easier to adjust colors in small quantities than large batches.
- Experiment with Undertones: Undertones can vary (pink, yellow, olive). Experiment with these to find what works best for your project.
- Keep a Color Journal: Document your mixes and the ratios used, which will help you replicate colors later.
- Practice: Creating realistic skin tones takes practice. Don’t be discouraged by initial results.
The Color Wheel and Mixing
To create skin tones, you need to understand the basic principles of color mixing. The color wheel can be a helpful guide:
Skin tones are typically achieved by mixing these colors, along with white for lightening or black for darkening.
Materials Needed
To make skin color paint, you will require the following materials:
Basic Ingredients
Optional Ingredients
Step-by-Step Guide to Making Skin Color Paint
Step 1: Start with a Base Color
1. Choose a Base: Begin with a base color that closely resembles the skin tone you want to create. A good starting point is a mixture of red and yellow to create a peachy base.
Step 2: Mix Your Colors
1. Use the Palette: Squeeze a small amount of your base colors onto your mixing palette.
2. Mix Thoroughly: Use a palette knife or brush to mix the colors until you achieve a smooth consistency.
3. Adjust as Needed: Add more of each color incrementally. For example:
Step 3: Test Your Color
1. Apply to Paper: Use a brush to apply the mixed paint on a piece of paper or canvas.
2. Evaluate Under Different Lighting: Check how the color looks under various lighting conditions, as this can significantly affect appearance.
Step 4: Fine-Tune Your Mix
1. Adjust Tones: Based on your test, adjust your mix by adding more colors as needed.
2. Create Variations: Once you have a base color, consider creating different shades for highlights and shadows:
Step 5: Store Your Paint
1. Use Airtight Containers: Store any leftover paint in airtight containers to prevent drying.
2. Label Your Colors: Make a note of the color ratios used for future reference.
Tips for Achieving Realistic Skin Tones
Comparison of Skin Tone Mixing Techniques
| Technique | Description | Pros | Cons |
|---|---|---|---|
| Direct Mixing | Mix primary colors directly to create skin tones. | Simple and straightforward. | May require many trials. |
| Use of Pre-Made Colors | Combine pre-mixed skin tones with white/black. | Saves time and effort. | Less control over shades. |
| Layering Colors | Apply layers of different colors for depth. | Creates realistic effects. | Requires more time. |
Frequently Asked Questions (FAQ)
Q1: Can I make skin color paint with watercolors?
Yes, you can make skin color paint using watercolors. The mixing principles remain the same, but you may need to adjust the water-to-paint ratio for the desired consistency.
Q2: How do I create darker skin tones?
To create darker skin tones, start with a base of red and yellow, then gradually add brown or black. Test your mix frequently to ensure you achieve the desired depth.
Q3: What if I want to create a specific ethnicity’s skin tone?
Research the specific undertones associated with that ethnicity. For example, Asian skin tones may have more yellow undertones, while some African skin tones may have red or blue undertones.
Q4: Can I use food coloring for skin tones?
While food coloring can be used for temporary projects or crafts, it is not ideal for artwork, as it may fade or react differently over time.
Q5: How can I lighten or darken my paint if I mix too much?
If your paint is too dark, add a small amount of white or light yellow. If it’s too light, gradually mix in more of the darker colors (red, brown, or black).
Conclusion
Making your own skin color paint is an exciting and creative process. By understanding the fundamentals of color mixing and experimenting with different shades and undertones, you can create a vast range of skin tones for your artistic projects. Remember to practice, document your findings, and have fun with the process. Happy painting!

