How to Cut in Paint: A Comprehensive Guide
Cutting in paint is a technique that every DIY enthusiast and professional painter should master. It involves painting the edges of walls, ceilings, and other areas where colors meet, ensuring a clean and crisp finish. This guide will provide you with all the necessary information to cut in paint like a pro.
Table of Contents
1. [What is Cutting In?](#what-is-cutting-in)
2. [Why is Cutting In Important?](#why-is-cutting-in-important)
3. [Tools and Materials Needed](#tools-and-materials-needed)
- [Essential Tools](#essential-tools)
- [Optional Tools](#optional-tools)
- [Using a Brush](#using-a-brush)
- [Using Painter’s Tape](#using-painters-tape)
- [Using a Paint Edger](#using-a-paint-edger)
- Professional Appearance: A well-cut edge gives your project a polished look.
- Color Separation: It helps to clearly define different colors and surfaces.
- Efficiency: Cutting in allows you to paint larger areas without the need for tape, which can save time and effort.
- Painter’s Tape: For those who prefer to tape off edges for added security.
- Paint Edger: A tool designed specifically for cutting in, often with a built-in guide.
- Sponge or Cloth: For wiping excess paint or correcting mistakes quickly.
- Work in Sections: Focus on small sections to maintain a wet edge and avoid lap marks.
- Use Quality Paint: Higher-quality paints often apply more smoothly and cover better.
- Practice on Scrap Material: If you’re new to cutting in, practice on a piece of cardboard or scrap wood.
- Keep a Wet Edge: Try to paint adjacent areas while the paint is still wet to avoid visible lines.
- Using Too Much Paint: Overloading your brush can lead to drips and uneven lines.
- Rushing the Process: Take your time to ensure accuracy, especially around edges.
- Not Cleaning Brushes: A dirty brush can ruin your cut-in lines.
- Ignoring Dry Times: Allow sufficient drying time between coats to avoid smudging.
4. [Preparing the Area](#preparing-the-area)
5. [Techniques for Cutting In](#techniques-for-cutting-in)
6. [Tips for a Clean Finish](#tips-for-a-clean-finish)
7. [Common Mistakes to Avoid](#common-mistakes-to-avoid)
8. [Frequently Asked Questions (FAQ)](#frequently-asked-questions-faq)
9. [Conclusion](#conclusion)
What is Cutting In?
Cutting in refers to the technique of painting the edges of walls and ceilings, particularly where two different surfaces meet, such as walls and trim or walls and ceilings. This method creates a clean line that enhances the overall appearance of your paint job.
Why is Cutting In Important?
Cutting in is crucial for several reasons:
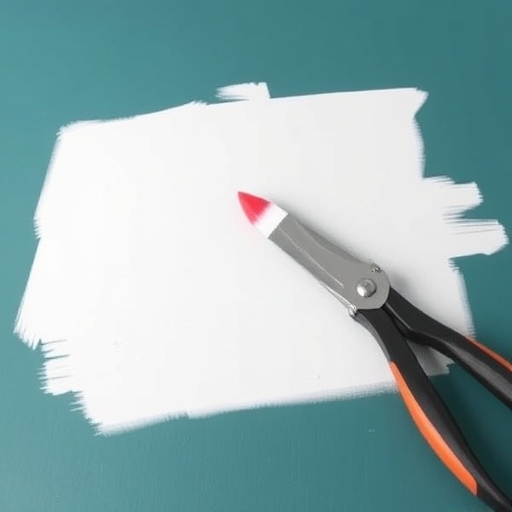
Tools and Materials Needed
Essential Tools
1. Angled Paint Brush: A high-quality angled brush is essential for precision.
2. Paint Bucket: Use a bucket to hold your paint, making it easier to dip your brush.
3. Drop Cloths: Protect your floors and furniture from paint splatters.
4. Ladder: A sturdy ladder will help you reach high areas safely.
Optional Tools
Preparing the Area
Before you start cutting in, it’s essential to prepare the area properly:
1. Clear the Space: Remove any furniture or items that may obstruct your work.
2. Clean the Surfaces: Dust and clean the surfaces to ensure proper paint adhesion.
3. Tape Off Areas (if using tape): Apply painter’s tape along the edges where you want a clean line.
4. Protect the Floor: Lay down drop cloths to catch any drips or spills.
Techniques for Cutting In
Using a Brush
1. Choose the Right Brush: An angled brush (2-3 inches) is ideal for cutting in.
2. Load the Brush: Dip the brush into the paint, then tap off excess paint on the side of the bucket.
3. Start at the Top: Begin cutting in at the top of the wall or ceiling, using the angled edge of the brush to guide you.
4. Use Steady Pressure: Maintain consistent pressure and a steady hand as you move along the edge.
5. Feather the Edge: As you move away from the edge, feather the paint by lightly dragging the brush to blend it with the wall.
Using Painter’s Tape
1. Apply the Tape: Ensure the tape adheres well to the surface. Press down firmly to avoid paint seepage.
2. Cut In Carefully: Follow the same steps as using a brush, but now you have the security of the tape to catch any mistakes.
3. Remove the Tape: Once the paint is dry, carefully peel off the tape at a 45-degree angle for a clean line.
Using a Paint Edger
1. Load the Edger: Fill the paint reservoir according to the manufacturer’s instructions.
2. Position the Edger: Place the edger against the wall, ensuring it is flush.
3. Roll the Edger: Use a steady hand to roll the edger along the edge, applying gentle pressure.
4. Clean the Edger: Regularly clean the edger to avoid paint buildup and ensure a consistent line.
Tips for a Clean Finish
Common Mistakes to Avoid
Frequently Asked Questions (FAQ)
How do I know when to cut in?
Cut in before you roll paint on the walls. This allows you to create clean edges that will look professional.
Can I cut in without painter’s tape?
Yes, many professional painters prefer to cut in freehand. It requires practice but can yield better results without the risk of tape pulling off paint.
How long should I wait before removing painter’s tape?
Remove painter’s tape when the paint is still slightly tacky, usually within an hour of painting, to avoid peeling.
What if I make a mistake?
Wipe excess paint immediately with a damp cloth or use a small brush to correct any errors once the paint has dried.
Is cutting in necessary for every paint job?
While cutting in is recommended for a professional finish, if you’re painting a small area or doing touch-ups, it may not be necessary.
Conclusion
Cutting in paint is a fundamental skill that can dramatically improve the quality of your painting projects. By following the techniques outlined in this guide, you can achieve clean, crisp lines that enhance the overall look of your space. Whether you choose to use a brush, painter’s tape, or a paint edger, practice and patience will lead you to success. Remember to prepare your area, use the right tools, and take your time for the best results. Happy painting!