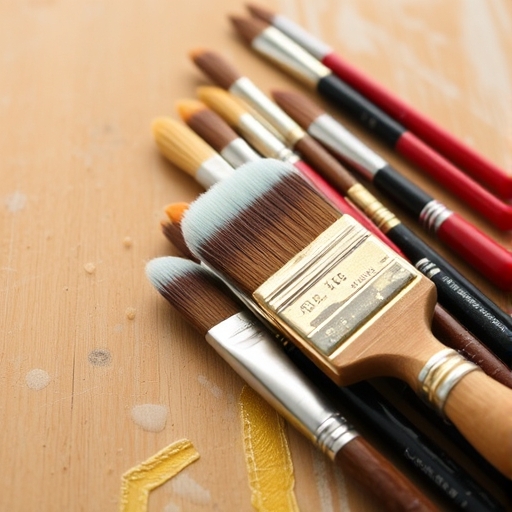
How to Clean Oil Paint Brushes: A Comprehensive Guide
Cleaning oil paint brushes is a crucial step in maintaining their quality and longevity. Proper care not only ensures that your brushes remain in good condition but also helps to preserve the vibrancy of your oil paints. In this guide, we will explore the best methods and tips for cleaning oil paint brushes effectively.
Why Is It Important to Clean Oil Paint Brushes?
Cleaning your brushes after each use is essential for several reasons:
- Preservation of Bristles: Oil paint can harden in the bristles, leading to fraying and loss of shape.
- Quality of Future Paintings: Residual paint can mix with new colors, affecting your artwork’s integrity and color accuracy.
- Cost Efficiency: Brushes can be expensive, and proper cleaning extends their lifespan, saving you money in the long run.
- Brushes: Oil paint brushes in need of cleaning.
- Solvent: Common choices include:
- Odorless mineral spirits
- Turpentine
- Linseed oil (for conditioning)
- Soap: Mild dish soap or brush cleaner.
- Paper towels or rags: For wiping excess paint.
- Container: For holding the cleaning solvent.
- Comb or brush cleaner tool: To help reshape bristles.
- Use Good Quality Solvents: Invest in high-quality solvents that are less toxic and more effective in breaking down oil paint.
- Avoid Hot Water: Hot water can damage the bristles and the glue holding them in place.
- Clean Brushes After Each Use: Make it a habit to clean your brushes immediately after painting to prevent paint from hardening.
- Consider a Brush Restorer: If your brushes have become stiff or misshapen, consider using a brush restorer to revive them.
- Using Too Much Solvent: Overusing solvents can lead to wastage and unnecessary exposure to fumes.
- Not Cleaning Immediately: Allowing paint to dry on brushes can make cleaning significantly more difficult.
- Neglecting Brush Maintenance: Regularly check for damage and take steps to repair or replace brushes as needed.
Materials Needed for Cleaning Oil Paint Brushes
Before diving into the cleaning process, gather the following materials:
Step-by-Step Guide to Cleaning Oil Paint Brushes
Step 1: Wipe Off Excess Paint
Before using any solvents, it’s essential to remove as much paint as possible.
1. Use a Paper Towel: Gently wipe the brush on a paper towel or rag to remove excess paint.
2. Repeat: If the brush is heavily loaded with paint, repeat this step until most of the color is gone.
Step 2: Rinse in Solvent
Once the bulk of the paint is removed, it’s time to use a solvent.
1. Fill a Container: Pour a small amount of your chosen solvent into a container. Avoid using too much, as you can always add more.
2. Dip the Brush: Submerge the bristles of the brush into the solvent. Avoid dipping the ferrule (the metal part of the brush) as this can loosen the glue over time.
3. Swirl and Tap: Gently swirl the brush in the solvent and tap it against the side of the container to release trapped paint.
Step 3: Clean with Soap
After rinsing with solvent, it’s important to wash the brush with soap.
1. Apply Soap: Use a small amount of mild dish soap or a specialized brush cleaner on your palm or a clean surface.
2. Work the Soap: Gently work the soap into the bristles, using your fingers to massage and clean them. Focus on the base of the bristles where paint tends to accumulate.
3. Rinse Thoroughly: Rinse the brush under warm running water until the water runs clear and free of soap and paint.
Step 4: Reshape the Brush
After cleaning, it’s important to reshape the brush to maintain its form.
1. Gently Squeeze: Use your fingers to gently squeeze out excess water.
2. Reshape: Use your fingers to reshape the bristles into their original form.
3. Lay Flat to Dry: Place the brush flat on a clean surface or hang it upside down to dry. Avoid standing brushes upright in a container, as water can seep into the ferrule.
Tips for Effective Brush Cleaning
Comparison of Solvents for Cleaning Oil Paint Brushes
| Solvent | Pros | Cons |
|---|---|---|
| Odorless Mineral Spirits | Less toxic, effective | Can be pricey |
| Turpentine | Strong solvent, inexpensive | Strong odor, toxic fumes |
| Linseed Oil | Natural, conditions bristles | Less effective for paint removal |
Common Mistakes to Avoid
FAQ
How often should I clean my oil paint brushes?
It’s best to clean your brushes after each painting session. If you’re taking a break during a session, you can wrap them in plastic wrap to keep them moist temporarily.
Can I use regular soap to clean my brushes?
Mild dish soap works well for cleaning brushes. However, specialized brush cleaners may be more effective in breaking down oil paint.
What should I do if my brushes are stiff?
If your brushes have become stiff, try soaking them in a solvent for a few minutes, followed by a thorough cleaning with soap. If they remain stiff, consider using a brush restorer.
Is it necessary to use gloves when cleaning brushes?
While it’s not strictly necessary, wearing gloves can protect your skin from solvents and any chemicals present in the paint.
Can I reuse the cleaning solvent?
Yes, you can reuse the cleaning solvent several times until it becomes too saturated with paint. Let it settle, and you can pour off the clean liquid for reuse.
Conclusion
Cleaning your oil paint brushes is an essential practice that not only prolongs the life of your brushes but also enhances the quality of your artwork. By following the steps outlined in this guide, you can ensure your brushes remain in excellent condition, ready for your next creative endeavor. Remember that proper maintenance is key to preserving both your tools and your artistic expression. Happy painting!

