How to Thin Acrylic Paint for Airbrush
Airbrushing is a versatile painting technique that opens up a world of creative possibilities. However, to achieve the best results, it’s essential to thin acrylic paint properly. This guide will cover everything you need to know about thinning acrylic paint for airbrush use, including the materials required, techniques, and common mistakes to avoid.
Understanding Acrylic Paint
Acrylic paint is a water-based medium that is popular among artists for its quick drying time, vibrant colors, and ease of use. However, when using an airbrush, the viscosity of acrylic paint can be an issue. Thinning the paint is crucial for achieving a smooth application and preventing clogs in the airbrush nozzle.
Why Thin Acrylic Paint?
Thinning acrylic paint for airbrush use offers several benefits:
- Improved Flow: Thinned paint flows more smoothly through the airbrush, allowing for better control and finer details.
- Reduced Clogging: Properly thinned paint reduces the risk of clogging the airbrush nozzle, which can interrupt your work.
- Fine Detail: Thinned paint allows for delicate shading and fine details that are essential for airbrush art.
- Layering: Thinned paint can be built up in layers for a more nuanced finish.
- Acrylic Paint: Choose your desired color.
- Airbrush: Ensure your airbrush is clean and functioning properly.
- Thinner: You can use various thinners, including:
- Water
- Acrylic medium
- Airbrush thinner
- Mixing Container: A small cup or palette for mixing.
- Stirring Tool: A stir stick or brush to mix the paint.
- Measuring Tools: Syringes or measuring spoons for accuracy.
- Water: The most accessible option, but it can dilute the paint’s pigment and affect adhesion.
- Acrylic Medium: Maintains the paint’s properties while thinning it, ideal for preserving color vibrancy.
- Airbrush Thinner: Specifically formulated for thinning acrylic paint for airbrush use, offering the best flow and finish.
- Start Small: Always start with a small amount of paint and thinner to avoid waste.
- Use a Color Wheel: If mixing colors, refer to a color wheel to understand how different colors interact.
- Experiment: Different brands of acrylic paint may have unique properties; don’t hesitate to experiment to find the perfect consistency.
- Keep Records: Make notes on your ratios and any adjustments you make for future reference.
- Over-Thinning: Too much thinner can lead to a lack of pigment and coverage. Always err on the side of caution.
- Neglecting Cleanup: Failing to clean your airbrush can lead to clogs and damage over time.
- Ignoring Manufacturer Guidelines: Always check the paint manufacturer’s recommendations for thinning.
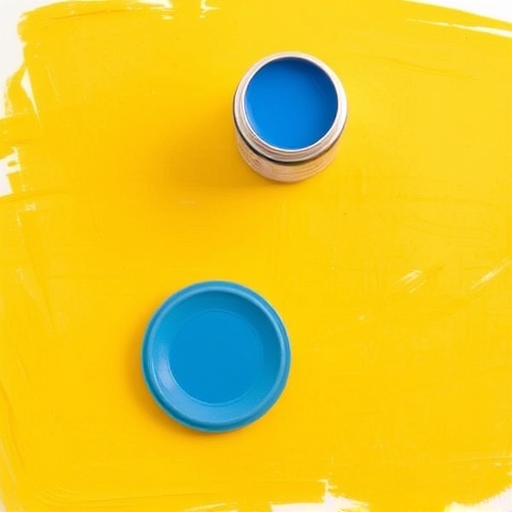
Materials Needed for Thinning Acrylic Paint
Before you begin thinning your acrylic paint, gather the following materials:
How to Thin Acrylic Paint for Airbrush
Step 1: Determine the Right Ratio
The first step in thinning acrylic paint is to determine the appropriate ratio of paint to thinner. A common starting point is a 1:1 ratio, but this can vary based on the specific paint and the desired consistency. Here’s a basic guide:
| Paint Consistency | Ratio of Paint to Thinner |
|---|---|
| Thick for base coating | 1:1 |
| Medium for detailing | 2:1 |
| Thin for fine lines and misting | 3:1 |
Step 2: Choose the Right Thinner
Depending on your needs, you can choose from several thinners:
Step 3: Mix the Paint and Thinner
1. Measure the Paint: Pour the desired amount of acrylic paint into your mixing container.
2. Add Thinner: Measure the appropriate amount of thinner based on your chosen ratio and add it to the paint.
3. Stir Thoroughly: Use your stirring tool to mix the paint and thinner until the mixture is smooth and consistent. Ensure there are no lumps or undissolved paint.
Step 4: Test the Consistency
To ensure your paint is thinned correctly, conduct a quick test:
1. Spray Test: Load the thinned paint into your airbrush and perform a test spray on a piece of scrap material.
2. Check for Flow: Observe how the paint flows. It should spray evenly without sputtering or dripping.
3. Adjust as Needed: If the paint is too thick, add more thinner in small increments. If it’s too thin, add a bit more paint.
Step 5: Clean Your Airbrush
After you finish painting, it’s essential to clean your airbrush thoroughly to prevent paint buildup. Use water or a specialized airbrush cleaner to flush out any residual paint.
Tips for Thinning Acrylic Paint for Airbrush
Common Mistakes to Avoid
Frequently Asked Questions (FAQ)
How do I know if my paint is thinned correctly?
A properly thinned paint will spray smoothly without sputtering. It should produce a fine mist on your test surface.
Can I use regular water to thin my acrylic paint?
Yes, but using distilled water or a specific acrylic medium is recommended to preserve the quality and adhesion of the paint.
What is the best thinner for acrylic paint?
Airbrush thinners are specifically designed for this purpose and are usually the best option. However, acrylic mediums can also work well.
How do I clean my airbrush after using thinned acrylic paint?
Flush your airbrush with water or a specialized airbrush cleaner immediately after use to prevent paint buildup.
Can I mix different brands of acrylic paint?
Yes, but be cautious, as different brands may have varying formulations that can affect the final result.
Conclusion
Thinning acrylic paint for airbrush use is a crucial skill for artists looking to achieve smooth, professional results. By understanding the materials needed, the proper techniques, and common pitfalls to avoid, you can master this essential aspect of airbrushing. With practice and experimentation, you’ll find the perfect consistency that suits your artistic style. Happy airbrushing!