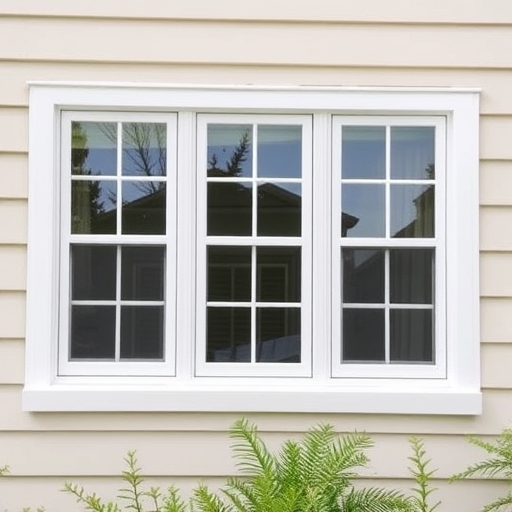
How to Paint Vinyl Windows
Vinyl windows are a popular choice among homeowners due to their durability, energy efficiency, and low maintenance. However, over time, these windows can become faded or discolored, leading many homeowners to consider painting them. Painting vinyl windows can refresh their appearance and extend their lifespan. In this comprehensive guide, we will explore how to paint vinyl windows, the materials needed, the steps involved, and some essential tips for achieving a professional finish.
Why Paint Vinyl Windows?
Before diving into the “how-to,” let’s consider why you might want to paint your vinyl windows:
- Aesthetic Appeal: Over time, vinyl windows can lose their luster. A fresh coat of paint can enhance the look of your home.
- Color Change: If you’re looking to change the color of your windows to match a new exterior or interior design, painting can be a cost-effective solution.
- Protection: Painting can provide an extra layer of protection against UV rays and weather elements, potentially extending the life of the vinyl.
- Paintbrushes: A small, high-quality brush for detail work.
- Roller: A foam roller for larger areas.
- Painter’s Tape: To protect areas you don’t want to paint.
- Drop Cloths: To protect the surrounding areas from paint splatters.
- Vinyl Primer: A special primer designed for vinyl surfaces.
- Vinyl Safe Paint: An exterior acrylic paint that is safe for vinyl.
- Sandpaper: Fine-grit sandpaper (220 grit) to smooth the surface.
- Cleaning Solution: A mild detergent or a specialized vinyl cleaner.
- Rags: For cleaning and drying.
- Tip: Apply the primer in thin, even coats for the best results.
- Tip: Use long, even strokes to avoid streaks and ensure an even application.
- Choose the Right Day: Paint on a day with mild temperatures and low humidity for optimal drying conditions.
- Test a Small Area First: Before committing to painting all your windows, test a small area to see how the paint adheres and looks.
- Follow Manufacturer Instructions: Always read and follow the instructions on the primer and paint for the best results.
Materials Needed
Before you start painting your vinyl windows, gather the following materials:
Tools
Supplies
Step-by-Step Guide to Painting Vinyl Windows
Step 1: Preparation
1.1 Clean the Windows
Start by cleaning the vinyl windows thoroughly. Use a cleaning solution to remove dirt, grime, and any existing paint. Rinse well and dry with a clean rag.
1.2 Sand the Surface
Lightly sand the surface of the vinyl with fine-grit sandpaper. This step is crucial as it helps the primer adhere better to the vinyl. Be gentle to avoid damaging the vinyl surface.
1.3 Tape Off Areas
Use painter’s tape to cover any areas you do not want to paint, such as the glass and surrounding walls. This will ensure clean lines and prevent any accidental paint splatters.
Step 2: Priming
2.1 Apply Vinyl Primer
Using a brush or roller, apply a coat of vinyl primer to the windows. The primer is essential because it helps the paint adhere to the vinyl surface and provides a uniform base for the paint.
2.2 Allow to Dry
Follow the manufacturer’s instructions for drying time. Typically, you will need to let the primer dry for at least 1-2 hours before proceeding to the next step.
Step 3: Painting
3.1 Choose the Right Paint
Select a vinyl-safe exterior acrylic paint. These paints are specially formulated to expand and contract with the vinyl, preventing peeling and cracking.
3.2 Apply the First Coat
Using your paintbrush or roller, apply the first coat of paint to the vinyl windows. Start with the edges and corners using a brush and then fill in the larger areas with a roller.
3.3 Allow to Dry
Let the first coat dry according to the paint manufacturer’s instructions. This usually takes about 2-4 hours.
3.4 Apply Additional Coats
Depending on the color and finish, you may need to apply a second or third coat. Repeat the application process, allowing each coat to dry completely before applying the next.
Step 4: Finishing Touches
4.1 Remove Painter’s Tape
Once you have achieved the desired coverage and the final coat is dry, carefully remove the painter’s tape. Pull it away slowly to ensure clean lines.
4.2 Clean Up
Clean your brushes and rollers with soap and water if you used water-based paint. Dispose of any drop cloths and materials properly.
4.3 Inspect Your Work
Take a moment to inspect your work. Touch up any areas that may need additional paint for a flawless finish.
Tips for Success
FAQs
Can I paint vinyl windows myself?
Yes, painting vinyl windows can be a DIY project if you have the right materials and follow the proper steps. Just ensure you take your time and follow the instructions carefully.
How long will the paint last on vinyl windows?
With proper preparation and the right materials, painted vinyl windows can last for several years. However, exposure to harsh weather conditions may affect longevity.
Can I use any paint on vinyl windows?
No, you should use vinyl-safe paint specifically designed for exterior surfaces. Regular paint may not adhere properly and can lead to peeling or cracking.
How do I know if my paint is vinyl-safe?
Check the label on the paint can. It should indicate that it is suitable for use on vinyl surfaces. Look for terms like “vinyl-safe” or “exterior acrylic.”
What should I do if the paint peels?
If you notice peeling, you may need to sand the area down and reapply primer and paint. Ensure you follow the preparation steps to ensure better adhesion.
Comparison Table: Types of Paint for Vinyl Windows
| Type of Paint | Vinyl Safe | Durability | Weather Resistance | Cost |
|---|---|---|---|---|
| Exterior Acrylic | Yes | High | Excellent | Moderate |
| Oil-Based Paint | No | Moderate | Good | High |
| Latex Paint | No | Moderate | Fair | Low |
| Specialty Vinyl Paint | Yes | High | Excellent | High |
Conclusion
Painting vinyl windows is an excellent way to enhance the appearance of your home while also providing protection against the elements. By following the steps outlined in this guide and using the right materials, you can achieve a professional-looking finish that will last for years. Remember to take your time during the preparation and painting process to ensure the best results. With a little effort, you can transform your vinyl windows and give your home a fresh, updated look.