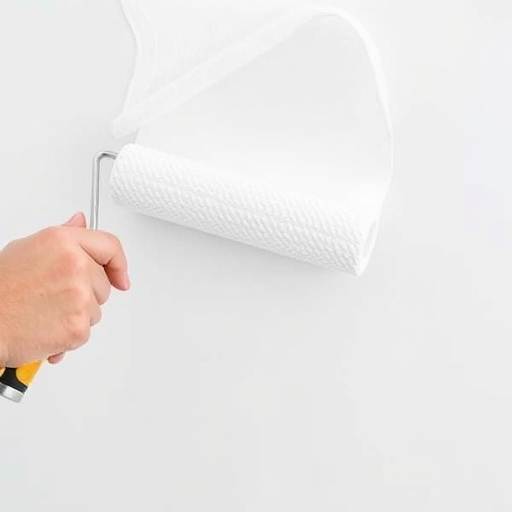
How to Clean a Paint Roller: A Comprehensive Guide
Cleaning a paint roller may not be the most glamorous part of a painting project, but it is crucial for maintaining your tools and ensuring the quality of your work. A clean roller extends its lifespan, saves money, and ensures that you get the best results on your next painting endeavor. In this article, we will guide you through the process of cleaning a paint roller effectively, discuss the tools you’ll need, and answer some frequently asked questions.
Why Cleaning Your Paint Roller is Important
Before diving into the cleaning process, let’s explore why it’s essential to keep your paint rollers clean:
- Cost-Effective: Paint rollers can be expensive, and cleaning them allows you to reuse them multiple times, saving you money in the long run.
- Quality of Work: A dirty roller can lead to uneven application and poor finish, ruining your painting project.
- Environmental Considerations: Properly cleaning and maintaining your tools reduces waste and is better for the environment.
- Warm Water (for water-based paints)
- Paint Thinner or Solvent (for oil-based paints)
- Bucket or Sink
- Roller Cleaner Tool or Scraper
- Old Rags or Towels
- Gloves (optional)
- Plastic Bag (for storage)
- Paint Roller Tray (for rinsing)
- Roll It on a Tray: Roll the paint roller on a paint tray to squeeze out the excess paint.
- Use a Scraper: If there’s still paint clinging to the roller, use a roller cleaner tool or a scraper to remove the remaining paint.
- Hold the roller under the water and rotate it to help wash out the paint.
- Use your hands to gently squeeze the roller to help release the paint.
- Continue rinsing until the water runs clear.
- Fill a Bucket or Sink: Pour a sufficient amount of paint thinner into a bucket or sink.
- Soak the Roller: Submerge the roller in the solvent and let it soak for 10-15 minutes.
- Scrub: Use a roller cleaner tool or your hands to scrub the roller gently.
- Rinse: After scrubbing, rinse the roller under warm water to remove any remaining solvent and paint.
- Use a Towel: Roll the roller in an old towel to absorb excess moisture.
- Air Dry: Place the roller in a well-ventilated area to air dry completely before storing it.
- Plastic Bag: Place the clean roller in a plastic bag to keep it dust-free.
- Keep It Flat: Store the roller flat to maintain its shape and prevent any deformation.
- Clean Immediately: The sooner you clean your roller after use, the easier it will be to remove the paint.
- Use the Right Tools: Invest in a good quality roller cleaner tool, which can make the cleaning process much easier and faster.
- Protect Your Hands: If you’re using solvents, consider wearing gloves to protect your skin from harsh chemicals.
Supplies You’ll Need
To effectively clean your paint roller, gather the following supplies:
Step-by-Step Guide to Cleaning a Paint Roller
Now that you have your supplies ready, let’s walk through the steps to clean a paint roller.
Step 1: Remove Excess Paint
Before you begin the cleaning process, it’s important to remove as much excess paint from the roller as possible.
Step 2: Rinse with Water
For water-based paints, rinse your roller under warm running water.
Step 3: Use a Cleaning Solution
If you are dealing with oil-based paints, you’ll need to use a solvent for cleaning.
Step 4: Dry the Roller
After rinsing, it’s essential to dry the roller properly to prevent mold or mildew from forming.
Step 5: Store Your Clean Roller
Once your paint roller is completely dry, it’s time to store it properly.
Comparison of Cleaning Methods: Water-Based vs. Oil-Based Paints
| Cleaning Method | Water-Based Paints | Oil-Based Paints |
|---|---|---|
| Cleaning Solution | Warm Water | Paint Thinner/Solvent |
| Rinsing Method | Under Running Water | Soaking in a Bucket/Sink |
| Scrubbing Tool | Hands or Roller Cleaner Tool | Roller Cleaner Tool |
| Drying Method | Air Dry and Towel Dry | Air Dry and Towel Dry |
Tips for Effective Cleaning
Frequently Asked Questions (FAQ)
1. Can I clean a paint roller with just soap and water?
For water-based paints, soap and warm water can work effectively. However, for oil-based paints, you will need a solvent to break down the paint.
2. How often should I clean my paint roller?
It’s best to clean your paint roller after each use to maintain its quality and extend its lifespan.
3. Is it better to use a roller or a brush for painting?
Both have their advantages. Rollers cover large areas quickly and are great for walls, while brushes are better for detailed work and edges.
4. Can I reuse a paint roller after cleaning?
Yes, once the roller is thoroughly cleaned and dried, you can reuse it for future painting projects.
5. What should I do if my roller is damaged?
If your roller is frayed or damaged after cleaning, it may be time to replace it to ensure a smooth application in your next project.
Conclusion
Cleaning a paint roller may seem tedious, but with the right approach and tools, it can be a straightforward task. Regularly cleaning your rollers not only saves you money but also improves the quality of your painting projects. By following the steps outlined in this guide, you’ll ensure that your paint roller is always ready for the next use, providing you with excellent results every time. Happy painting!