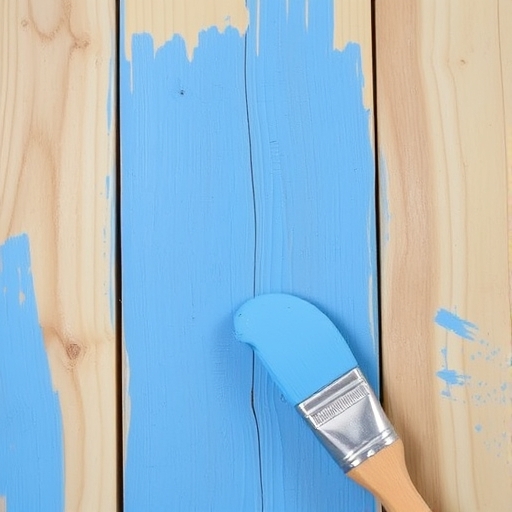
Can Acrylic Paint Be Used on Wood?
Acrylic paint is a versatile medium that has gained immense popularity among artists, hobbyists, and DIY enthusiasts. One common question that arises is whether acrylic paint can be used on wood surfaces. This article will explore the advantages, techniques, and considerations of using acrylic paint on wood, providing you with all the information you need to get started on your next project.
What is Acrylic Paint?
Acrylic paint is a fast-drying paint made of pigment suspended in acrylic polymer emulsion. It can be diluted with water but becomes water-resistant when dry. Acrylics are known for their vibrant colors, versatility, and ease of use, making them suitable for a variety of surfaces, including canvas, paper, and wood.
Advantages of Using Acrylic Paint on Wood
Using acrylic paint on wood offers several advantages:
- Quick Drying Time: Acrylic paint dries quickly, allowing artists to work efficiently and layer colors without long waits.
- Versatility: Acrylics can be used for various techniques, including glazing, pouring, and impasto, making them suitable for different artistic styles.
- Vibrant Colors: Acrylic paints retain their brightness and vibrancy, resulting in a visually appealing finish.
- Easy Cleanup: Since acrylic paint is water-based, it can be easily cleaned up with soap and water before it dries.
- Durability: Once dry, acrylic paint forms a durable and flexible finish, making it resistant to chipping and fading.
- Pine: Softwood that is easy to work with and readily available.
- Birch Plywood: Smooth surface that is ideal for detailed work.
- MDF (Medium Density Fiberboard): Smooth and affordable, perfect for beginners and intricate designs.
- Choose the Right Brushes: Use synthetic brushes designed for acrylics, as they hold up well against the paint’s thickness.
- Thin Layers: Apply multiple thin layers of paint rather than one thick layer to avoid drips and enhance color vibrancy.
- Blend Colors: Work quickly to blend colors while the paint is still wet.
- Create or Purchase Stamps: You can use rubber stamps, foam stamps, or even create your own from potatoes or other materials.
- Apply Paint to the Stamp: Use a sponge or brush to apply a thin layer of acrylic paint to the stamp.
- Press and Lift: Press the stamp onto the wood surface and lift it gently to reveal the design.
- Prepare Your Paint: Mix acrylic paint with a pouring medium to create a fluid consistency.
- Pour the Paint: Pour the mixture directly onto the wood surface, allowing the colors to flow and blend.
- Tilt the Wood: Tilt the wood to spread the paint and create unique patterns.
- Choose a Stencil: Select a stencil design that fits your project.
- Secure the Stencil: Use painter’s tape to secure the stencil to the wood surface.
- Apply Paint: Use a sponge or brush to apply acrylic paint over the stencil, ensuring you don’t use too much paint to avoid bleeding.
- Choose the Right Finish: Select a matte, satin, or glossy finish based on your preference.
- Apply Evenly: Use a clean brush to apply a thin, even coat of sealer over the painted surface.
- Allow to Dry: Let the sealer dry completely before using or displaying the wood piece.
- Select Water-Based Polyurethane: Opt for a water-based formula to avoid yellowing over time.
- Apply with a Brush: Use a synthetic brush to apply a thin coat over the paint.
- Sand Between Coats: Lightly sand the surface between coats for a smoother finish.
- Skipping Surface Preparation: Failing to sand or prime the wood can lead to poor paint adhesion.
- Using Too Much Water: While acrylics can be thinned with water, using too much can result in a washed-out color.
- Neglecting to Seal: Not sealing the paint can lead to chipping and fading over time.
Preparing Wood for Acrylic Painting
Before applying acrylic paint to wood, proper preparation is crucial to ensure optimal adhesion and a smooth finish. Here are the steps to prepare wood for painting:
1. Choose the Right Wood
Not all wood surfaces are created equal. Here are some suitable types of wood for acrylic painting:
2. Sand the Surface
Sanding helps create a smooth surface for painting. Use fine-grit sandpaper (220 grit) to sand the wood, removing any rough spots or imperfections. Always sand in the direction of the wood grain to avoid scratches.
3. Clean the Surface
After sanding, wipe the wood surface with a damp cloth to remove dust and debris. Ensure that the surface is completely dry before proceeding.
4. Apply a Primer (Optional)
While acrylic paint can adhere directly to wood, using a primer can enhance adhesion and improve the paint’s vibrancy. A gesso primer is a popular choice for acrylic painting. Apply one or two thin coats, allowing each coat to dry thoroughly before painting.
Techniques for Acrylic Painting on Wood
Once your wood surface is prepared, you can begin painting. Here are some popular techniques to consider:
1. Brush Painting
Using a brush is the most common method for applying acrylic paint. Here are some tips for brush painting on wood:
2. Stamping
Stamping is a fun technique that involves using stamps to apply paint patterns on wood. Here’s how to do it:
3. Pouring
Acrylic pouring is a modern technique that creates stunning, abstract designs. Here’s how to do it on wood:
4. Stenciling
Stenciling allows for precise designs and patterns on wood surfaces. Here’s how to stencil with acrylic paint:
Sealing Acrylic Paint on Wood
Once you have completed your painting, sealing the surface is essential to protect the artwork and enhance durability. Here are some options for sealing acrylic paint on wood:
1. Clear Acrylic Sealer
A clear acrylic sealer can provide a protective finish while maintaining the vibrancy of the paint. Here’s how to apply it:
2. Polyurethane
Polyurethane offers strong protection and is suitable for pieces that will be exposed to moisture. Here’s how to use it:
Common Mistakes to Avoid
When painting with acrylics on wood, be mindful of these common mistakes:
Comparison Table: Acrylic vs. Other Paints on Wood
| Feature | Acrylic Paint | Oil Paint | Latex Paint |
|---|---|---|---|
| Drying Time | Fast (30 min to 1 hr) | Slow (days) | Moderate (1-2 hrs) |
| Cleanup | Soap and water | Solvents required | Soap and water |
| Color Vibrancy | High | Moderate to High | Moderate |
| Flexibility | High | Low | Moderate |
| Surface Preparation | Minimal to Moderate | Extensive | Moderate |
| Finish Options | Matte, Satin, Gloss | Glossy | Matte, Satin, Gloss |
| Durability | Good | Excellent | Good |
FAQ
Can I use acrylic paint on untreated wood?
Yes, you can use acrylic paint on untreated wood, but it is advisable to sand the surface and apply a primer for better adhesion and finish.
How long does acrylic paint last on wood?
Acrylic paint can last for many years on wood if properly sealed and maintained. Sealing the paint with a clear coat will enhance its durability.
Is acrylic paint waterproof once dry?
Acrylic paint is water-resistant once dry, but prolonged exposure to water can damage it. To make it more waterproof, seal it with a clear acrylic sealer.
Can I mix acrylic paint with other types of paint?
Mixing acrylic paint with oil-based or latex paints is not recommended, as they have different properties and may not adhere well to each other.
What should I do if the paint is peeling?
If the paint is peeling, it may be due to improper surface preparation or sealing. Remove the peeling paint, sand the surface, and repaint with proper preparation and sealing.
Conclusion
Acrylic paint can indeed be used on wood, offering a wide range of creative possibilities for artists and DIY enthusiasts. By following the proper preparation steps, techniques, and sealing methods, you can achieve beautiful and long-lasting results. Whether you’re creating art, home decor, or furniture, acrylic paint on wood can transform your projects into stunning works of art. Happy painting!