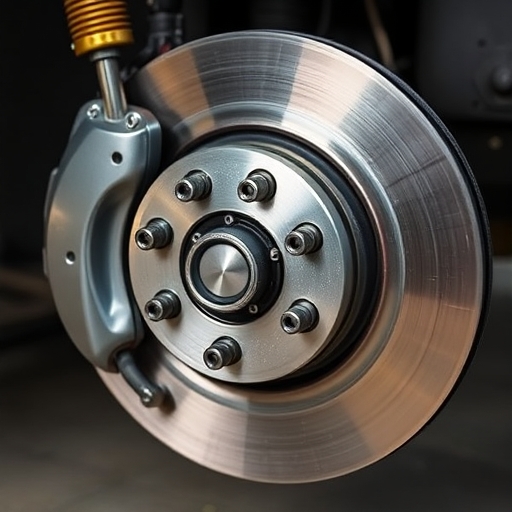
How to Paint Brake Calipers: A Comprehensive Guide
Painting your brake calipers is an excellent way to enhance the appearance of your vehicle, while also protecting the calipers from rust and corrosion. Not only does it give your car a custom look, but it can also be a fun DIY project. This article will guide you through the entire process of painting brake calipers, from preparation to application, and everything in between.
Why Paint Brake Calipers?
Before diving into the how-to, let’s explore why you might want to paint your brake calipers:
- Aesthetic Appeal: Painted calipers can add a pop of color and make your wheels stand out.
- Protection: High-temperature paint can protect calipers from rust and corrosion.
- Customization: You can choose colors that match your vehicle or express your personal style.
- Value Addition: A well-maintained appearance can increase the resale value of your vehicle.
- Jack and jack stands
- Lug wrench
- Wire brush or sandpaper
- Brake cleaner
- Masking tape
- Paintbrush or spray gun
- Heat-resistant paint (specifically designed for brake calipers)
- Clear coat (optional)
- Gloves
- Safety goggles
- Drop cloth or newspaper
- Brake Cleaner: To remove dirt and grease.
- High-Temperature Paint: Specifically designed for brake calipers, available in spray cans or as a liquid.
- Clear Coat: Optional, for added protection and shine.
- If using a spray can, hold it about 6-12 inches away from the caliper and spray in light, even coats.
- If using a brush, apply the paint evenly in thin layers.
- Work in a Well-Ventilated Area: Painting can release fumes; ensure you have good airflow.
- Avoid Painting on Hot Brakes: Allow your brakes to cool down completely before starting the project.
- Choose the Right Paint: Make sure to use paint that can withstand high temperatures (up to 500°F).
- Don’t Rush the Process: Allow ample drying time between coats for the best finish.
- Not Cleaning Properly: Skipping the cleaning step can lead to paint peeling off.
- Rushing the Drying Process: Allow sufficient time for each coat to dry.
- Using Non-Heat-Resistant Paint: Regular paint can melt or discolor under high temperatures.
Tools and Materials Needed
Before you get started, gather the following tools and materials:
Tools
Materials
Step-by-Step Guide to Painting Brake Calipers
Step 1: Preparation
Safety First: Always wear safety goggles and gloves when working on your vehicle.
1. Lift the Vehicle: Use the jack to lift your vehicle and secure it with jack stands. Make sure the car is on a flat surface.
2. Remove the Wheels: Use a lug wrench to remove the lug nuts and take off the wheels. Place the wheels aside.
3. Clean the Calipers: Use brake cleaner and a wire brush or sandpaper to clean the surface of the calipers. Remove any rust, dirt, or old paint to ensure a smooth application.
4. Mask Off Areas: Use masking tape to cover surrounding areas, including the rotor, brake lines, and any parts you don’t want to paint.
Step 2: Painting the Calipers
1. Choose Your Color: Decide on the color of the paint. High-temperature paints come in various colors, including red, yellow, black, and more.
2. Apply the Paint:
3. Let It Dry: Allow the first coat to dry for about 30 minutes before applying a second coat. Depending on the paint, you may need to apply 2-3 coats for full coverage.
4. Apply Clear Coat: If you opted for a clear coat, apply it after the final coat of color has dried. This will enhance the shine and provide additional protection.
Step 3: Reassembly
1. Remove the Masking Tape: Carefully peel off the masking tape to avoid pulling off any paint.
2. Reinstall the Wheels: Place the wheels back on and hand-tighten the lug nuts.
3. Lower the Vehicle: Carefully remove the jack stands and lower the vehicle back to the ground.
4. Tighten the Lug Nuts: Use a lug wrench to securely tighten the lug nuts in a criss-cross pattern to ensure even pressure.
Tips for Best Results
Comparison Table: Paint Types for Brake Calipers
| Paint Type | Pros | Cons | Best Use |
|---|---|---|---|
| Spray Paint | Easy application, even coverage | Can overspray, requires masking | Quick projects |
| Brush-On Paint | More control, precise application | Can leave brush strokes if not careful | Detailed work |
| Powder Coating | Extremely durable, professional finish | Requires special equipment, more expensive | Long-term durability |
Common Mistakes to Avoid
FAQ
How long does it take to paint brake calipers?
The total time can vary, but generally, you should expect to spend a few hours on the entire process, including preparation, painting, and drying time.
Can I paint my brake calipers without removing the wheels?
While it’s possible to paint calipers without removing the wheels, removing them allows for a much cleaner and more thorough job.
How long will the paint last?
With proper application and care, painted brake calipers can last several years. Factors like exposure to elements and brake dust can affect longevity.
Is it safe to paint brake calipers?
Yes, painting brake calipers is safe as long as you use the right materials and follow the proper procedures.
What color should I choose?
The color choice is entirely up to personal preference. Consider colors that complement your vehicle’s color or go for a bold contrast.
Conclusion
Painting your brake calipers is a rewarding DIY project that can enhance the look of your vehicle while providing protective benefits. By following the steps outlined in this guide, you can achieve a professional-looking finish that sets your car apart from the rest. Remember to take your time, use the right materials, and enjoy the process! Happy painting!

