How to Paint Leather: A Comprehensive Guide
Leather is a timeless material known for its durability and aesthetic appeal. However, over time, leather items can lose their luster or become outdated. Painting leather can rejuvenate your favorite pieces, allowing you to customize them to your taste. In this guide, we will explore the process of painting leather, the materials you’ll need, techniques to achieve the best results, and tips for maintaining your newly painted leather.
Table of Contents
- [Understanding Leather Types](#understanding-leather-types)
- [Materials Needed](#materials-needed)
- [Preparing Your Leather for Painting](#preparing-your-leather-for-painting)
- [Choosing the Right Paint](#choosing-the-right-paint)
- [Step-by-Step Guide to Painting Leather](#step-by-step-guide-to-painting-leather)
- [Finishing Touches](#finishing-touches)
- [Caring for Painted Leather](#caring-for-painted-leather)
- [Common Mistakes to Avoid](#common-mistakes-to-avoid)
- [FAQ](#faq)
- [Conclusion](#conclusion)
- Leather cleaner: To remove dirt and oils.
- Sandpaper (fine grit): For roughening the surface.
- Paint: Specifically designed for leather (see below).
- Brushes and sponges: For applying paint.
- Masking tape: To protect areas you don’t want to paint.
- Sealer: To protect your painted finish.
- Drop cloth or newspaper: To protect your workspace.
- Acrylic Leather Paint: Flexible and durable; ideal for most leather projects.
- Angelus Leather Paint: Popular among DIY enthusiasts; available in various colors.
- Fabric Paint: Can be used on synthetic leather but may not be as durable.
- Spray Paint: Provides an even coat but requires careful application to avoid overspray.
- Angelus
- FolkArt
- Dulux
- Rust-Oleum
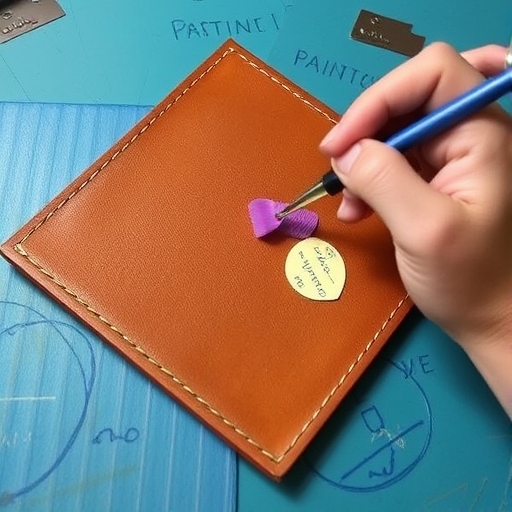
- Using Brushes: Dip your brush or sponge into the paint and apply it in thin layers. Use long, even strokes, and avoid overloading the brush to prevent drips.
- Using Spray Paint: Hold the can about 6-12 inches away from the surface. Spray in light, even coats, allowing each layer to dry before applying the next.
- Avoid Excessive Water: Keep painted leather away from heavy moisture; use a damp cloth for cleaning.
- Use Leather Conditioner: Apply a conditioner designed for painted leather to maintain flexibility and prevent cracking.
- Store Properly: Keep painted leather items in a cool, dry place, away from direct sunlight to prevent fading.
- Skipping Surface Preparation: Always clean and sand the leather to ensure paint adhesion.
- Applying Thick Coats: Thin layers are better for avoiding drips and ensuring even coverage.
- Neglecting to Seal: Sealing your painted leather is crucial for durability and protection.
Understanding Leather Types
Before you start painting, it is crucial to understand the type of leather you are working with. Different types of leather have varying textures and finishes, which can affect how paint adheres and looks once applied.
Common Types of Leather
| Type of Leather | Description | Best for Painting |
|---|---|---|
| Aniline Leather | Soft, natural leather that retains its surface grain. | Not recommended; paint may not adhere well. |
| Pigmented Leather | Coated with a layer of pigment for protection and color. | Ideal for painting; holds color well. |
| Nubuck Leather | Sanded to create a soft, velvety texture. | Requires special treatment before painting. |
| Suede | Made from the underside of the animal skin, soft and textured. | Can be painted with specialized paint. |
| Synthetic Leather | Faux leather made from plastic compounds. | Paint adheres well; choose flexible paints. |
Key Takeaway
For best results, use pigmented leather or synthetic leather, as they are more receptive to paint.
Materials Needed
To successfully paint leather, gather the following materials:
Choosing the Right Paint
Selecting the right paint is crucial for achieving a professional finish. Here are some options:
Recommended Brands
Preparing Your Leather for Painting
Proper preparation is key to achieving a smooth and long-lasting finish. Follow these steps:
1. Clean the Leather: Use a leather cleaner to remove any dirt, oils, or residues. This ensures better paint adhesion.
2. Sand the Surface: Lightly sand the leather with fine-grit sandpaper. This creates a rough surface for the paint to grip onto. Be careful not to over-sand.
3. Tape Off Areas: Use masking tape to cover areas you do not want to paint. This ensures clean lines and prevents accidental overspray.
Step-by-Step Guide to Painting Leather
Now that your leather is prepped, follow these steps to paint it effectively:
Step 1: Test the Paint
Before applying paint to your entire item, test it on a small, inconspicuous area to see how it adheres and looks once dry.
Step 2: Apply the Paint
Step 3: Allow to Dry
Let the paint dry completely between coats. This usually takes 30 minutes to an hour, depending on the paint type and environmental conditions.
Step 4: Apply Additional Coats
Depending on the desired color intensity, you may need to apply multiple coats. Aim for at least two to three coats for even coverage.
Step 5: Seal the Paint
Once satisfied with the color, apply a leather sealer to protect your painted surface. Follow the manufacturer’s instructions for application and drying time.
Finishing Touches
After sealing, inspect your work. Touch up any areas that need additional paint or sealant. Remove masking tape carefully to avoid peeling any paint.
Caring for Painted Leather
To ensure the longevity of your painted leather, follow these care tips:
Common Mistakes to Avoid
FAQ
Can I paint any leather item?
Most leather items can be painted, but results may vary based on the type of leather. Pigmented and synthetic leathers are the best candidates.
How long does painted leather last?
With proper care, painted leather can last several years. Regular maintenance and avoiding harsh conditions will extend its lifespan.
What should I do if the paint cracks?
If the paint cracks, you may need to sand the area lightly and reapply the paint and sealer. Ensure the surface is clean and dry before reapplying.
Is it safe to use regular paint on leather?
No, regular paint is not recommended for leather as it can crack and peel. Always use paints specifically designed for leather.
Can I use a hairdryer to speed up the drying process?
While a hairdryer can be used, it’s best to let the paint air dry to avoid uneven drying or damage to the paint.
Conclusion
Painting leather is a fantastic way to breathe new life into your items, allowing for personalization and creativity. By understanding the type of leather you are working with, using the right materials, and following the steps outlined in this guide, you can achieve professional-looking results. Remember to take your time during the preparation and painting process, and enjoy the transformation of your leather goods! With proper care, your newly painted leather will remain vibrant and stylish for years to come.