18 Stunning Wall Painting Ideas That Will Inspire Your DIY Journey
Are you looking at your walls and feeling a familiar itch? That craving for a change, a refresh, a splash of personality that transforms a house into your home? A new coat of paint is the ultimate DIY weapon in your home improvement arsenal – it’s relatively inexpensive, incredibly impactful, and offers a canvas for boundless creativity. But if you’re ready to graduate from single-color simplicity and embark on a truly inspiring DIY journey, you’ve landed in the perfect spot.
Move over, monotone! It’s time to explore a world where walls tell stories, evoke emotions, and showcase your unique style. These 18 stunning wall painting ideas are designed to ignite your inner artist and guide you through your next DIY adventure. From subtle enhancements to bold statements, there’s a project here for every skill level and aesthetic. Get ready to roll up your sleeves, unleash your creativity, and paint your way to a home that’s as vibrant and individual as you are!
The Transformative Power of a DIY Paint Project
Why embark on a creative wall painting DIY journey? The rewards are plentiful:
- Unleash Your Inner Designer: This is your chance to bring those Pinterest boards and magazine clippings to life, creating a space that’s truly your own.
- Set a Unique Mood: Colors and patterns are powerful tools. You can craft an atmosphere that’s calming and serene, energetic and vibrant, or chic and sophisticated.
- Create Unforgettable Focal Points: Turn a plain wall into a conversation-starting masterpiece that draws the eye and adds character.
- Personalize Your Space: More than just decoration, a DIY paint job infuses your home with your personality and story.
- Budget-Friendly Impact: Compared to other renovations, creative painting offers a massive visual return for a relatively modest investment of time and money.
- Sense of Accomplishment: There’s nothing quite like stepping back and admiring a beautiful wall you’ve transformed with your own hands!
Let’s explore some incredible ideas to kickstart your DIY painting adventure!
18 Wall Painting Ideas to Spark Your DIY Genius:
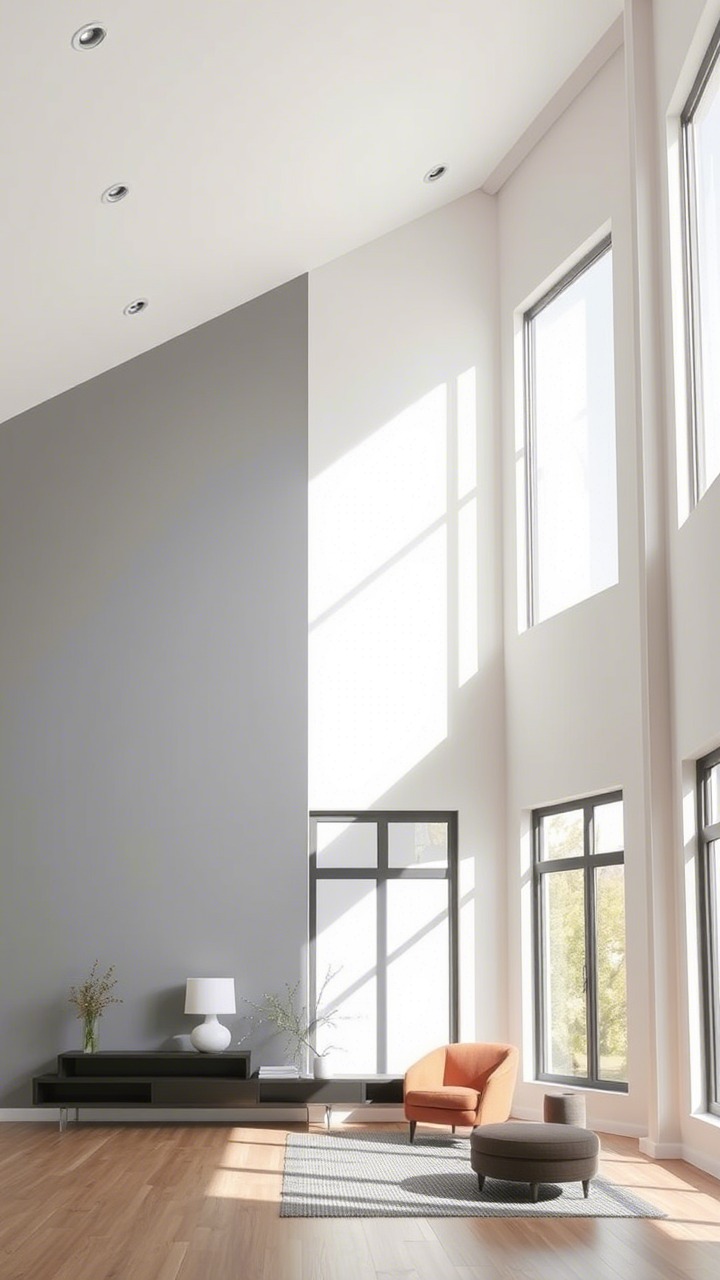
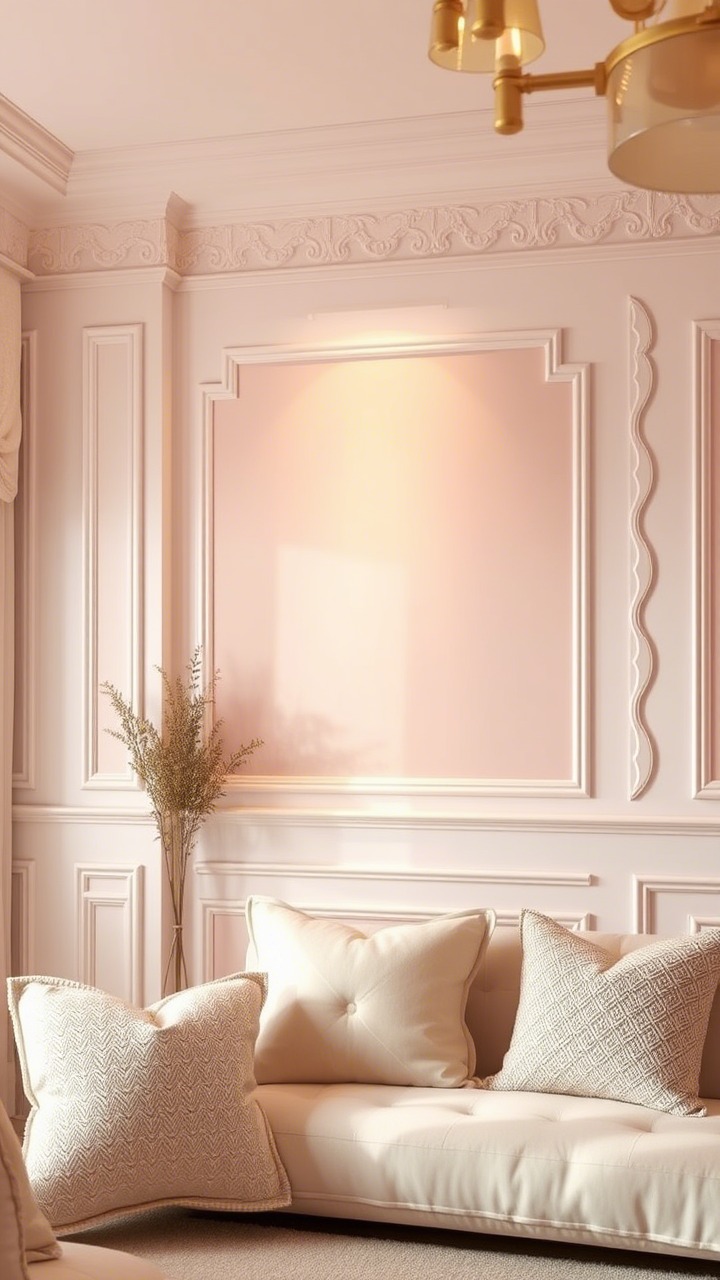
1. The Classic & Timeless Accent Wall: Simple Yet Striking

- The Idea: A fantastic starting point for any DIY painter. Choose one strategic wall and paint it a different color. This could be a bold, contrasting hue, a deeper shade of the main wall color, or even a complementary neutral.
- Why It’s Stunning: An accent wall instantly creates a focal point, adds depth, and introduces personality without overwhelming the space. It’s a low-risk, high-reward DIY project perfect for experimenting with color.
- Best For: Living rooms (behind the sofa or TV unit), bedrooms (the wall behind the headboard), dining rooms to highlight a feature, or home offices.
- DIY Journey Tips:
- Select a wall that naturally draws attention or one you want to emphasize.
- Ensure crisp lines by using high-quality painter’s tape (like FrogTape or ScotchBlue). Press the edges firmly.
- For your first accent wall, pick a color that complements your existing decor.
2. Geometric Marvels: Shapes for a Modern Edge
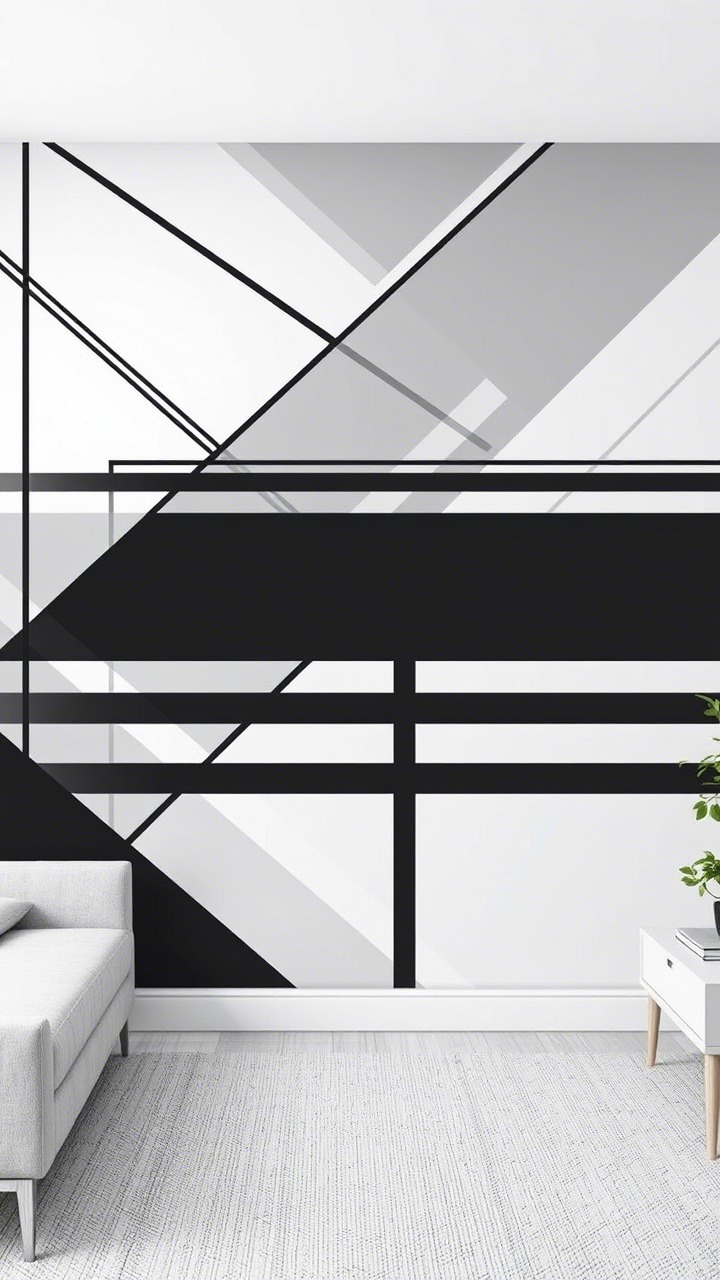
- The Idea: Get creative with lines and shapes! Triangles, chevrons, hexagons, bold stripes, or abstract angular designs can bring a contemporary feel. Use a monochromatic scheme or experiment with contrasting colors.
- Why It’s Stunning: Geometric patterns add a dynamic, sophisticated, and modern touch. They can energize a space and showcase your precision.
- Best For: Modern living rooms, home offices, nurseries (with softer shapes or playful colors), or as a striking feature wall in a bedroom.
- DIY Journey Tips:
- Sketch your design on paper first, measuring your wall and planning the layout.
- A good level, measuring tape, pencil, and high-quality painter’s tape are your best friends here.
- Paint one color section at a time. Allow each section to dry completely before taping over it for the next color. Patience is key!
3. Soothing Ombre & Gradient Walls: A Soft Transition of Color
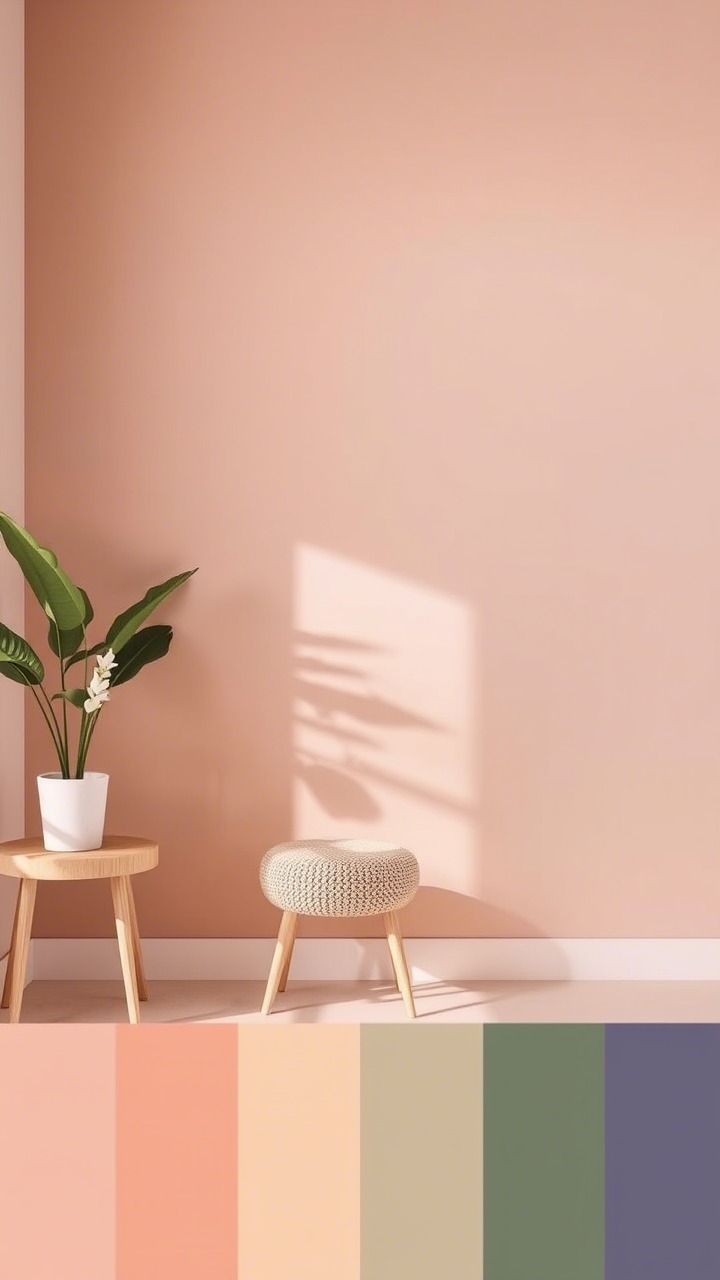
- The Idea: Create a dreamy, artistic effect by blending shades of one color (or several analogous colors) from dark to light, or vice versa. This typically works best with a vertical transition.
- Why It’s Stunning: Ombre walls add depth, serenity, and a unique artistic flair. The gradual color shift is visually calming and can make a room feel more spacious or taller.
- Best For: Bedrooms (creating a restful sanctuary), nurseries, bathrooms for a spa-like feel, or any space where you desire a subtle yet captivating feature.
- DIY Journey Tips:
- Choose at least three closely related shades of the same color family.
- Divide your wall into horizontal bands for each color. Paint the bands.
- While the paint in adjacent bands is still wet, use a clean, dry brush (or a sponge) to blend the lines between colors using soft, feathery, up-and-down or crisscross strokes. This technique requires a bit of practice – try it on a large piece of cardboard first.
4. Color Blocking: Bold Statements with Purpose
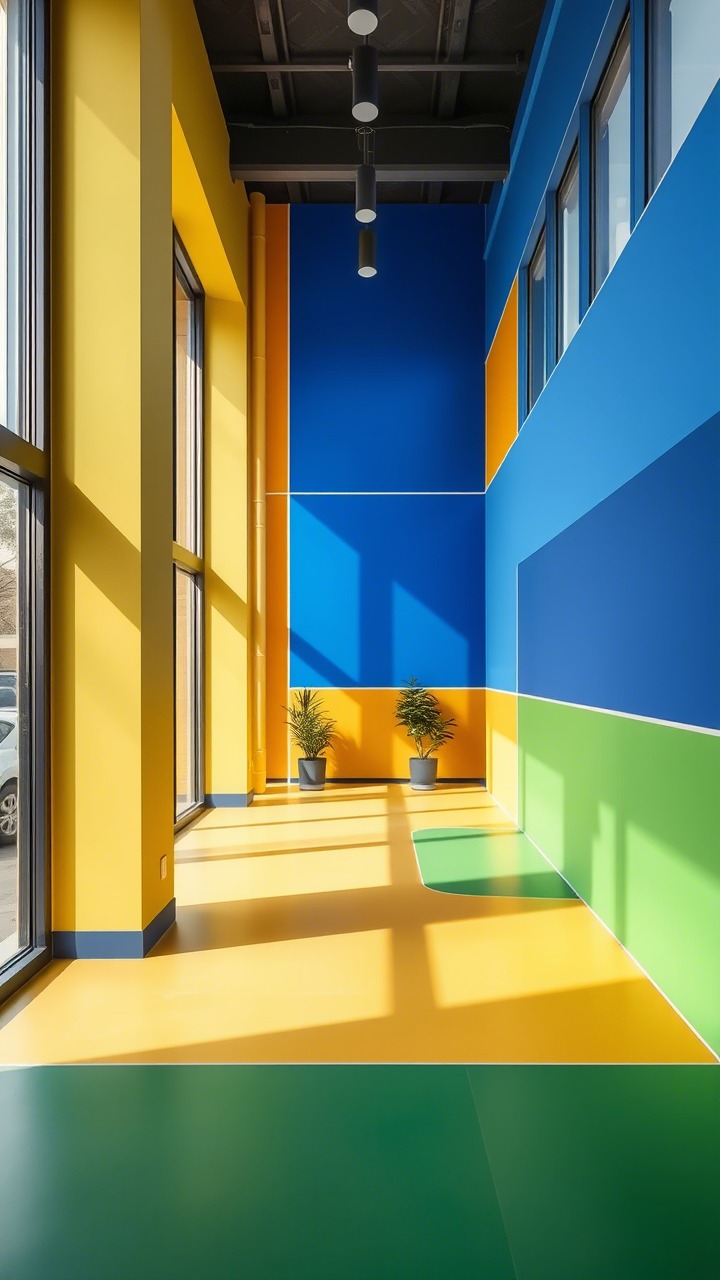
- The Idea: Paint large, distinct sections of a wall (or even adjacent walls and the ceiling) in different solid colors. These blocks can define zones, highlight architectural features, frame furniture, or simply create a bold, graphic statement.
- Why It’s Stunning: Color blocking is a powerful DIY tool for injecting personality and modern drama. It’s confident, contemporary, and can cleverly alter the perception of a room’s shape and size.
- Best For: Open-plan living areas (to delineate zones), kids’ playrooms, home offices, or to create an impactful backdrop for a key piece of furniture.
- DIY Journey Tips:
- Plan your blocks carefully, considering furniture placement and the room’s overall flow. Sketch it out!
- Use painter’s tape meticulously for ultra-crisp edges between your color blocks. A laser level can be helpful for large-scale designs.
- A common DIY approach is to pair a neutral with one or two bolder complementary or contrasting colors.
5. Half-Painted Walls (Two-Tone): Simple Chic & Space Defining
- The Idea: A wonderfully accessible DIY project. Paint the lower portion of your wall one color and the upper portion another (often white or a lighter neutral, but feel free to experiment). The dividing line is typically horizontal.
- Why It’s Stunning: Half-painted walls (or “color dipping”) add instant architectural interest without any actual construction. It’s a modern, chic take on traditional wainscoting and can beautifully ground a space or make ceilings appear higher.
- Best For: Dining rooms, hallways, bedrooms, nurseries. It’s a versatile look that can be adapted to many styles.
- DIY Journey Tips:
- Decide on the height of your dividing line – one-third or two-thirds of the wall height are popular choices. Use a level and measuring tape to mark a perfectly straight line.
- Painter’s tape is your best friend for achieving that sharp, clean division.
- Painting the darker color on the bottom is a classic approach that can also be more practical for hiding scuffs in high-traffic areas.
6. Textured Paint Finishes: Adding Depth and Tactility
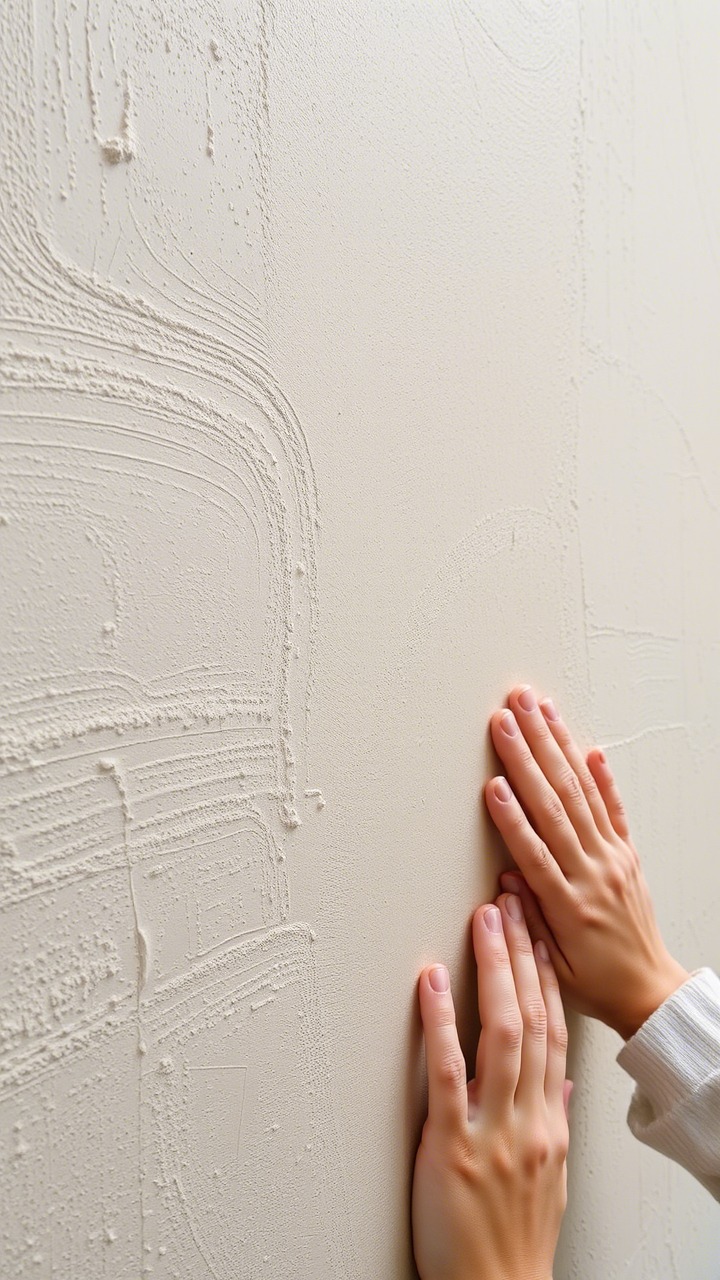
- The Idea: Go beyond flat color by introducing touchable texture. This can be achieved with specialty textured paints (like those with sand, suede, or stone effects), by using specific DIY application techniques (like sponging, rag rolling – aim for a modern take), or by applying a subtle texture with joint compound before painting.
- Why It’s Stunning: Textured walls add warmth, dimension, and a unique tactile quality. They can be forgiving of minor wall imperfections and create an organic, rustic, or even sophisticated feel depending on the chosen texture.
- Best For: Living rooms (especially for a cozy vibe), bedrooms, hallways, or as an accent wall to introduce an earthy or luxurious element.
- DIY Journey Tips:
- Always practice your chosen texturing technique on a large sample board first.
- Ensure the wall is well-prepped. While texture can hide minor flaws, larger ones might still show.
- Consider the room’s overall style. A heavily textured wall suits rustic or Mediterranean styles, while a subtle suede finish can be very elegant.
7. The Allure of a Painted Arch or Organic Shapes: Soft & Playful
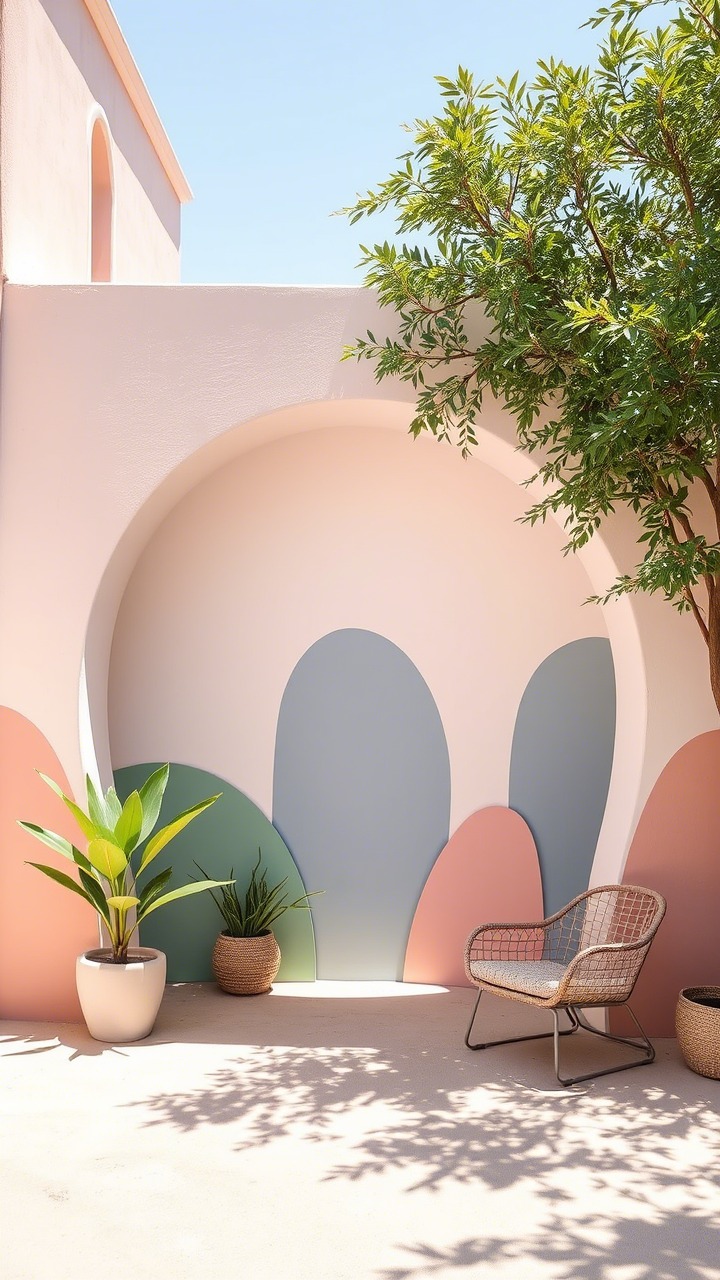
- The Idea: A very achievable DIY trend! Paint a soft archway shape on a wall to frame furniture (like a headboard or desk), create a faux alcove, or add an architectural illusion. You can also experiment with other organic, free-flowing painted “blobs” or curved color blocks.
- Why It’s Stunning: Painted arches and organic shapes add whimsy, softness, and architectural interest without any complex construction. They make a space feel more curated, artistic, and on-trend.
- Best For: Bedrooms (as a faux headboard), nurseries, playrooms, home offices (to define a work zone), or entryways for a unique welcome.
- DIY Journey Tips:
- To create a perfect arch: use the “string and pencil” compass method. Tack one end of a string to the wall (center of the arch base), tie a pencil to the other, keep the string taut, and draw your curve.
- Use painter’s tape for the straight sides of an arch. For the curve, either carefully freehand with an angled brush or use flexible painter’s tape, applying it in short, slightly overlapping pieces.
8. Chalkboard or Whiteboard Walls: Functional Fun for All Ages
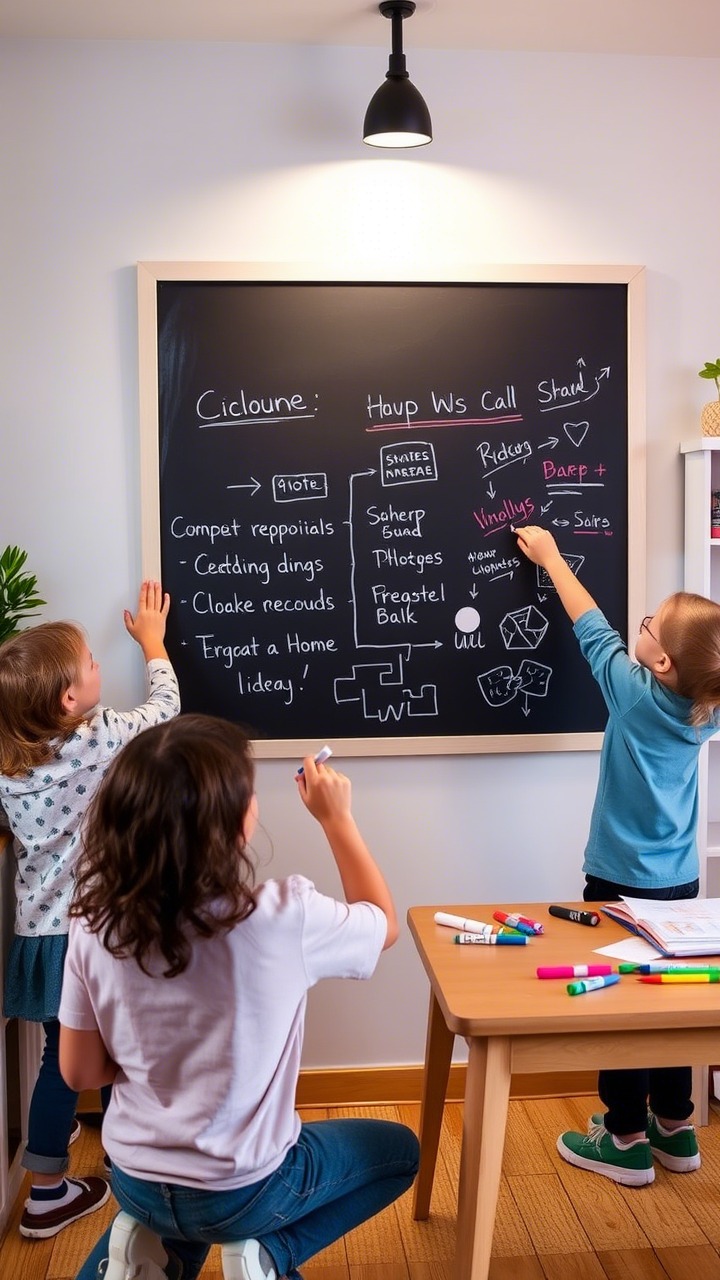
- The Idea: A highly practical and fun DIY. Transform an entire wall, or just a section, into a usable writing surface with special chalkboard paint (available in classic black and a range of other colors) or whiteboard paint.
- Why It’s Stunning (and Smart!): This idea encourages creativity, organization, and interaction. It’s perfect for family command centers, kids’ art spaces, home office brainstorming, or kitchen menu boards.
- Best For: Kitchens, home offices, kids’ rooms, playrooms, mudrooms, or even a panel on a pantry door.
- DIY Journey Tips:
- Surface preparation is key; the smoother the wall, the better the writing surface.
- Apply several thin, even coats of chalkboard/whiteboard paint as per the manufacturer’s instructions.
- Allow the paint to cure fully before use. Chalkboard paint often needs to be “seasoned” (rub the entire surface with the side of a piece of chalk, then erase) to prevent the first drawings from “burning in.”
9. Subtle Stripes: Vertical or Horizontal Elegance
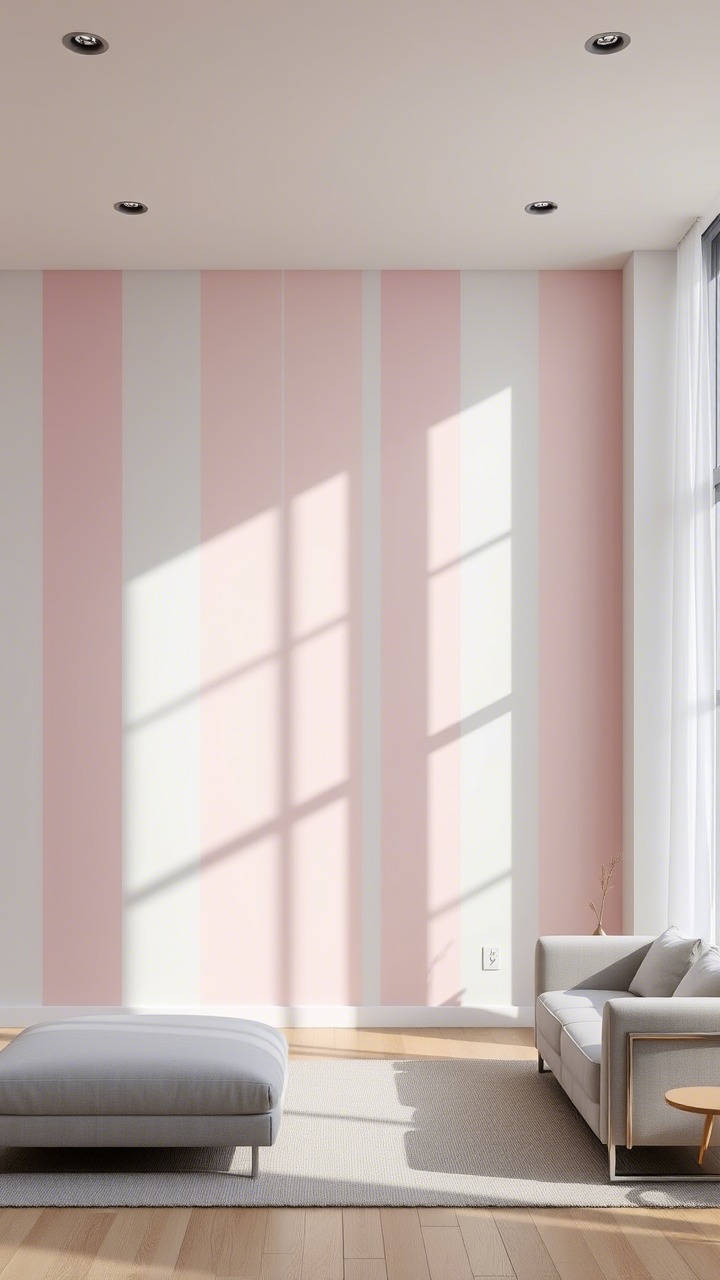
- The Idea: Painted stripes are a classic DIY that can dramatically alter a room’s perception. Go bold with contrasting colors or create an understated look with tonal stripes (slightly different shades of the same color) or varying sheens (e.g., matte and satin stripes of the same color).
- Why It’s Stunning: Stripes add elegance, playfulness, or sophistication. Vertical stripes can make ceilings seem higher, while horizontal stripes can make a room feel wider or longer. Sheen stripes offer a subtle, luxurious texture.
- Best For: Living rooms, dining rooms, bedrooms, hallways, powder rooms.
- DIY Journey Tips:
- This project demands meticulous measuring and taping for straight, even stripes. A good level is essential.
- Decide on your stripe width and spacing. Consider if you want stripes of equal or varying widths.
- For sheen stripes, the effect is most noticeable when light hits the wall, creating a subtle play of light and shadow.
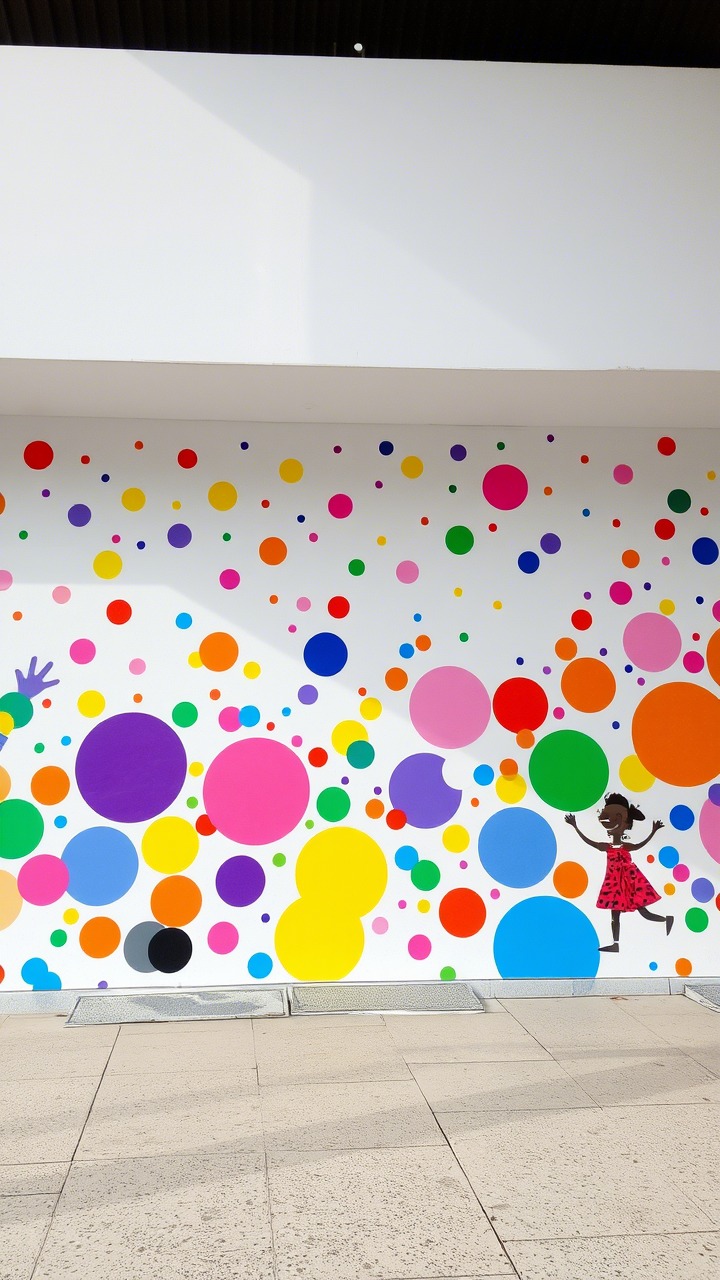
10. Polka Dots or Confetti Walls: Playful & Whimsical
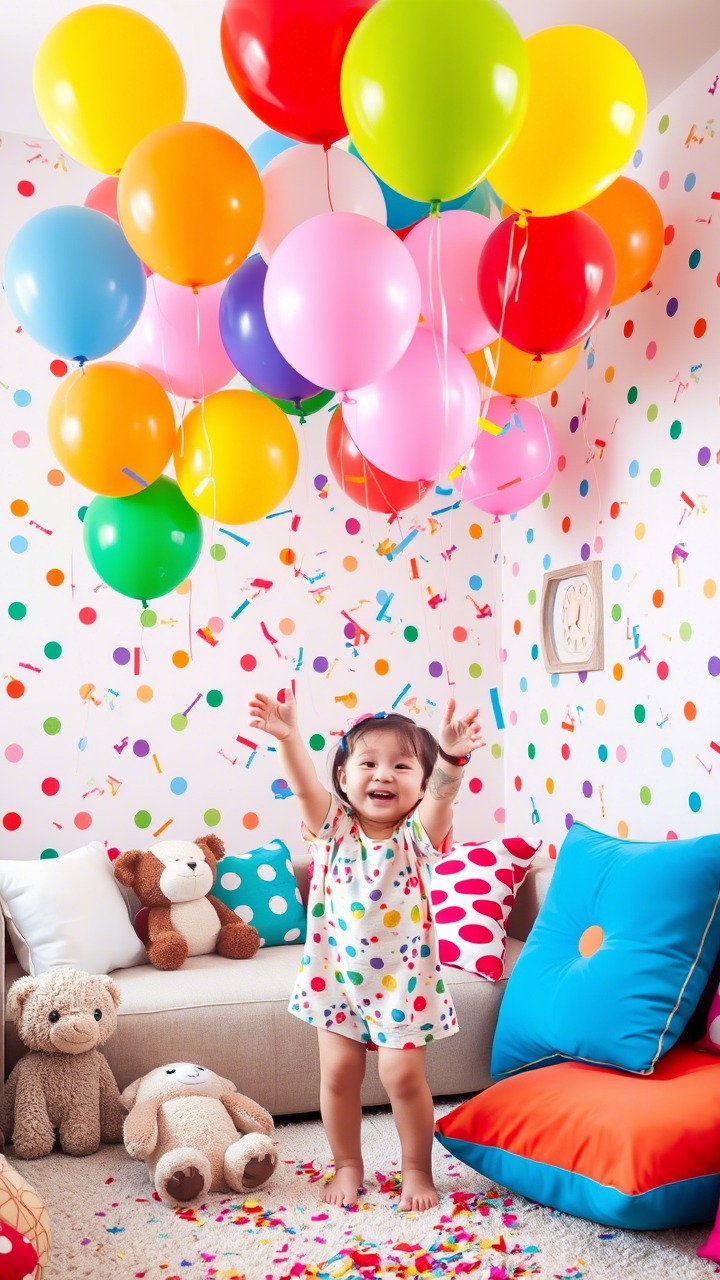
- The Idea: A delightful DIY project to add a dose of fun! Paint polka dots (uniform or varied in size and spacing) or create a more irregular, scattered “confetti” pattern.
- Why It’s Stunning: This is a cheerful and whimsical way to liven up any space, particularly effective for creating a joyful atmosphere. Metallic dots can add an unexpected touch of glam.
- Best For: Nurseries, kids’ rooms, playrooms, a craft room accent wall, or even inside a closet for a hidden surprise.
- DIY Journey Tips:
- Use stencils for uniform polka dots – you can buy them or make your own from cardboard or Mylar sheets.
- For a random confetti look, use small craft brushes, round pouncers, or even the eraser end of a pencil dipped in paint (for tiny dots).
- Plan your general spacing, or embrace a more organic, free-form application.
11. Mural Magic: Your Wall as a Personal Canvas
- The Idea: For the ambitious DIYer with an artistic streak! Transform a wall into a breathtaking piece of art with a painted mural – a landscape, abstract design, cityscape, or nature scene. If freehand seems too daunting, consider using stencils on a larger scale or a projector to trace an image.
- Why It’s Stunning: A mural is a deeply personal statement piece that is utterly unique. It can transport you, tell a story, or simply be an awe-inspiring visual feast.
- Best For: Feature walls in living rooms, dining rooms, bedrooms (calming nature scenes work well), or imaginative themes in children’s rooms.
- DIY Journey Tips:
- Sketch your design to scale on paper first.
- If tracing, use a projector to cast your image onto the wall and lightly pencil the outlines.
- Use good quality artist’s acrylics or interior wall paints in sample pots for your colors. Work from background elements to foreground details.
- Don’t be afraid to start simple with a silhouette or a more abstract, color-focused mural.
12. The “Fifth Wall” Statement: Painting the Ceiling
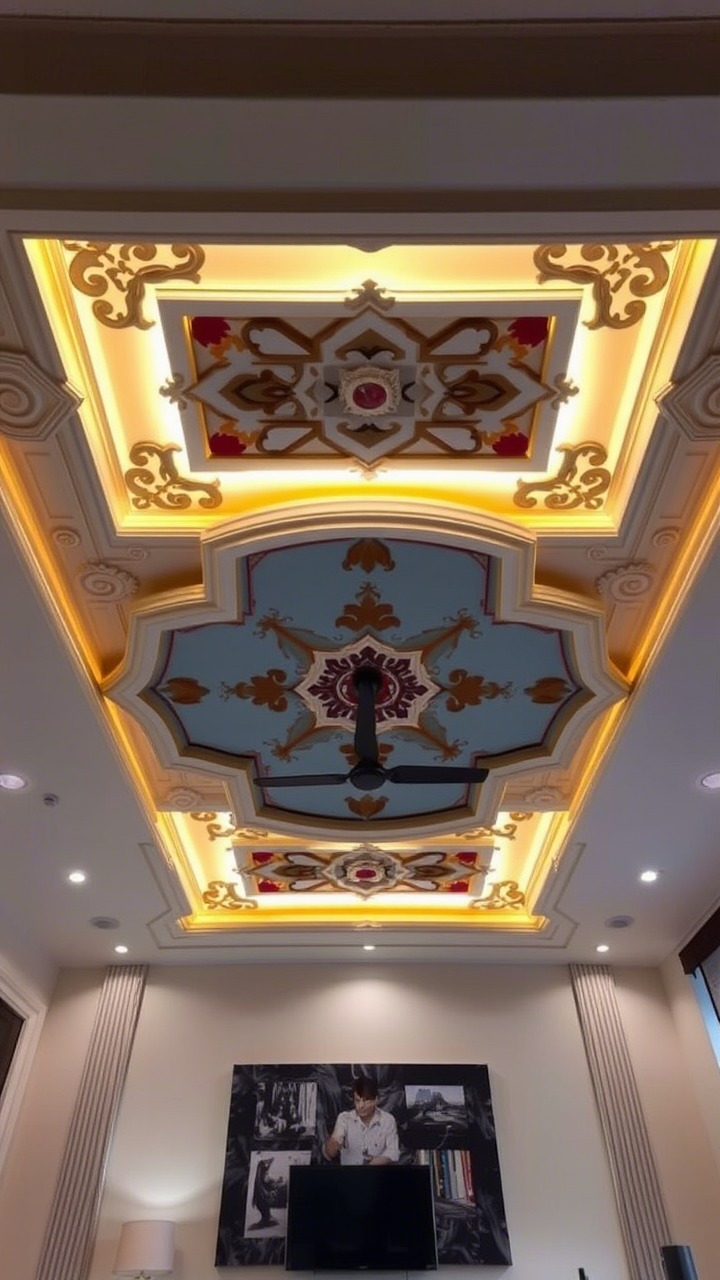
- The Idea: A truly impactful DIY is to look up! Painting your ceiling a color other than the standard builder’s white can dramatically change a room. Consider a pale shade that coordinates with the walls, a bold contrasting color for drama, or even a metallic finish for a touch of luxury.
- Why It’s Stunning: A colored ceiling draws the eye upward, can make a room feel cozier (darker colors in high-ceilinged rooms) or more expansive (very light, cool colors), and adds an unexpected element of surprise and sophistication.
- Best For: Bedrooms (imagine a dark navy “night sky” ceiling), dining rooms (a rich, warm color to create intimacy), or any room with decent ceiling height.
- DIY Journey Tips:
- Be mindful of ceiling height; dark colors can visually lower a ceiling.
- Ensure the ceiling surface is in good condition, as color can highlight imperfections.
- Use a good quality roller with an extension pole, wear safety glasses, and cover everything below with drop cloths!
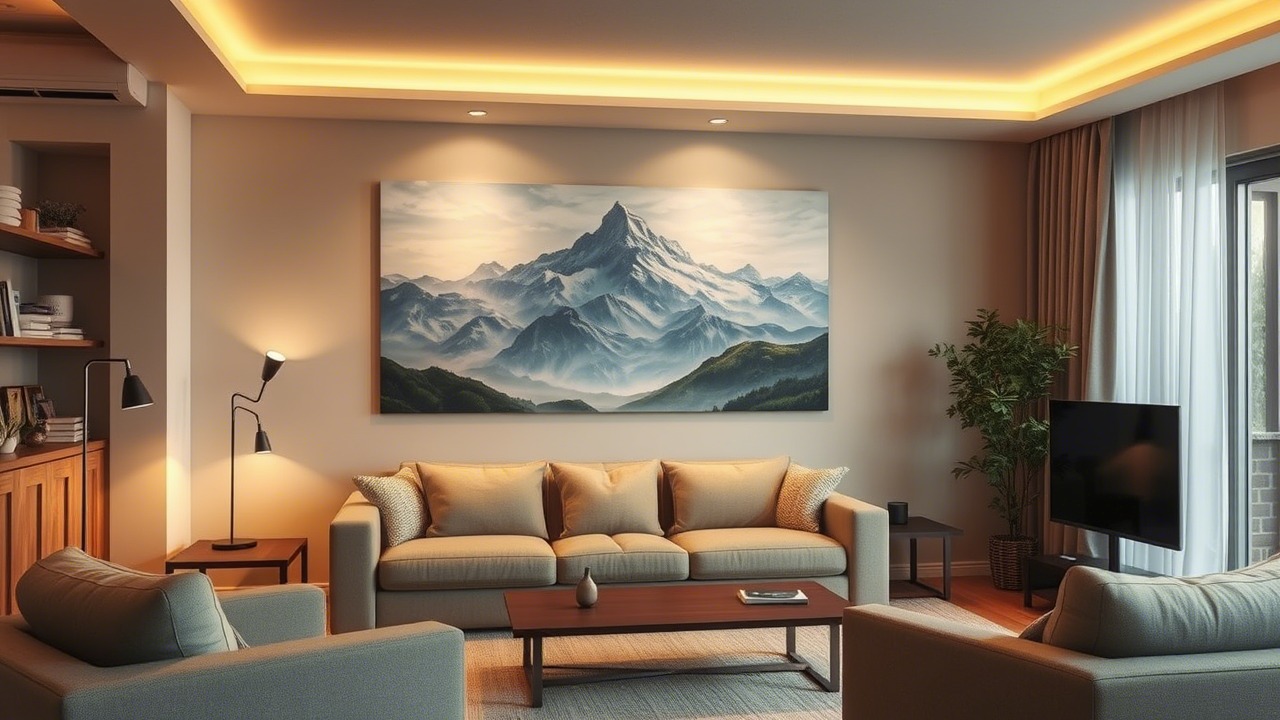
13. Nature-Inspired & Botanical Touches: Bringing the Outdoors In
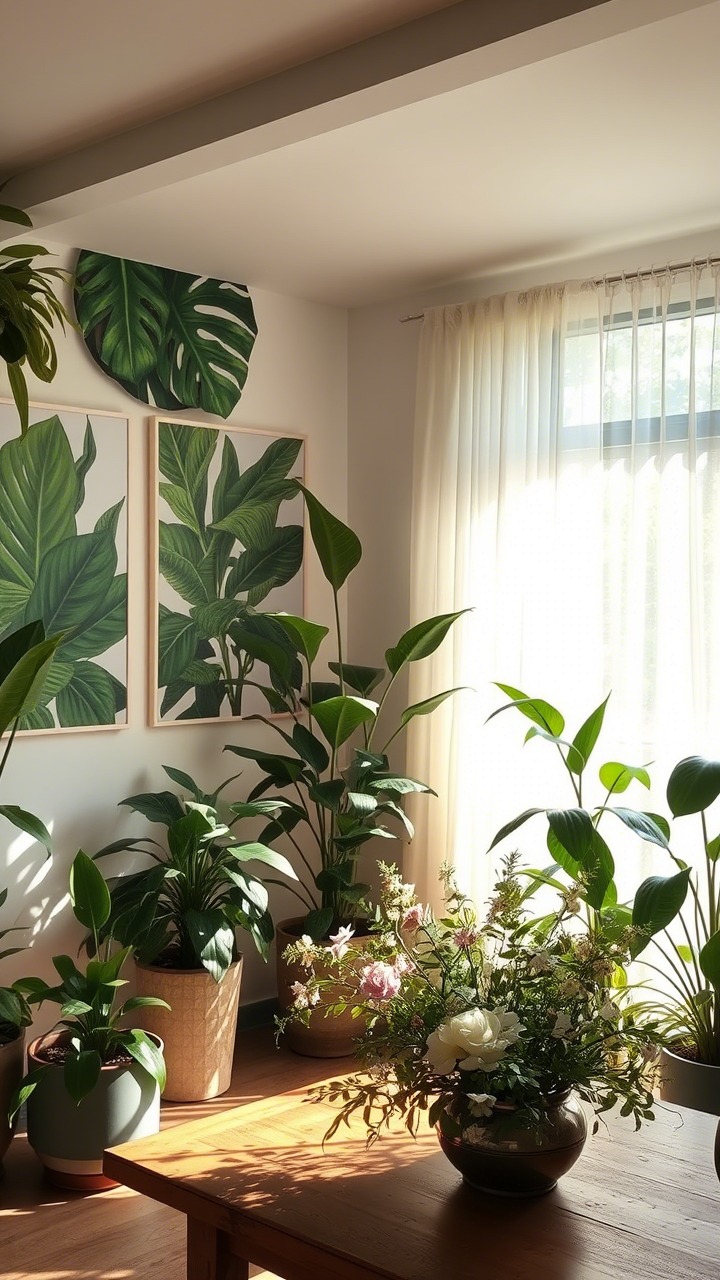
- The Idea: A calming DIY project is to incorporate nature onto your walls. This could be a simple feature wall in a leafy green or earthy terracotta, or more detailed (yet achievable) designs like painted oversized leaves (using stencils or freehand), delicate vines, or a simple mountain range silhouette.
- Why It’s Stunning: Botanical and nature themes are inherently calming and grounding, creating a refreshing and serene atmosphere by connecting your indoor space with the natural world.
- Best For: Bedrooms, bathrooms (spa-like vibe), sunrooms, living rooms, or home offices where tranquility is desired.
- DIY Journey Tips:
- Use large leaf stencils for an easy, impactful look.
- For a mountain range, use painter’s tape to create jagged peaks, layering different shades of gray, blue, or green for depth.
- Choose a color palette inspired by nature – think various greens, sky blues, earthy browns, and soft terracottas.
14. Metallic Accents & Details: A Touch of DIY Glamour
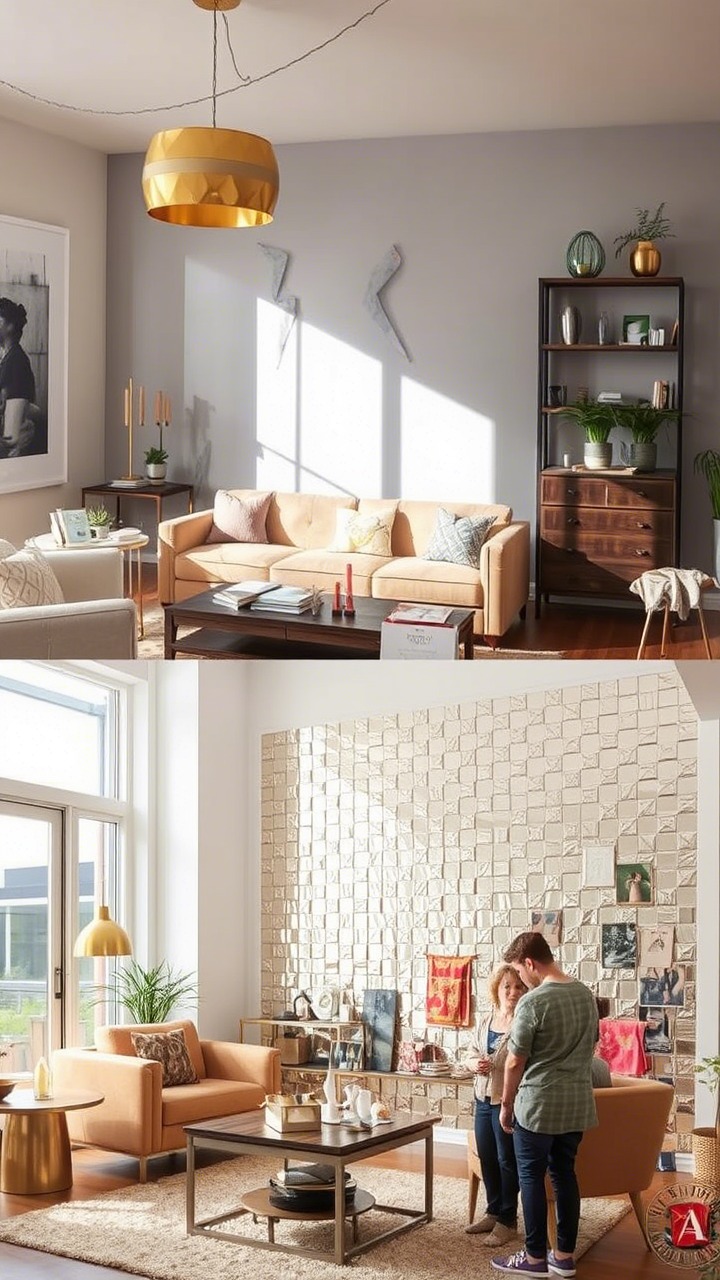
- The Idea: Inject a bit of luxury with metallic paints (gold, silver, bronze, copper). This could be an entire metallic accent wall (best for smaller areas or if you want high drama), metallic stripes or geometric shapes, or stenciled patterns using metallic paint for a subtle shimmer.
- Why It’s Stunning: Metallic finishes catch and reflect light beautifully, adding warmth, glamour, and opulence. They can make a space feel more sophisticated and special.
- Best For: Dining rooms, powder rooms, bedrooms (as an accent behind a bed or on a small feature wall), or to highlight details in a geometric pattern.
- DIY Journey Tips:
- Metallic paints often look best over a specific base coat color (check manufacturer’s recommendations).
- Apply thin, even coats to avoid streakiness. A very smooth wall surface is crucial for a good metallic finish.
- A little often goes a long way; even small metallic details can make a big impact.
15. Minimalist Lines & Simple Color Washes: Understated DIY Elegance
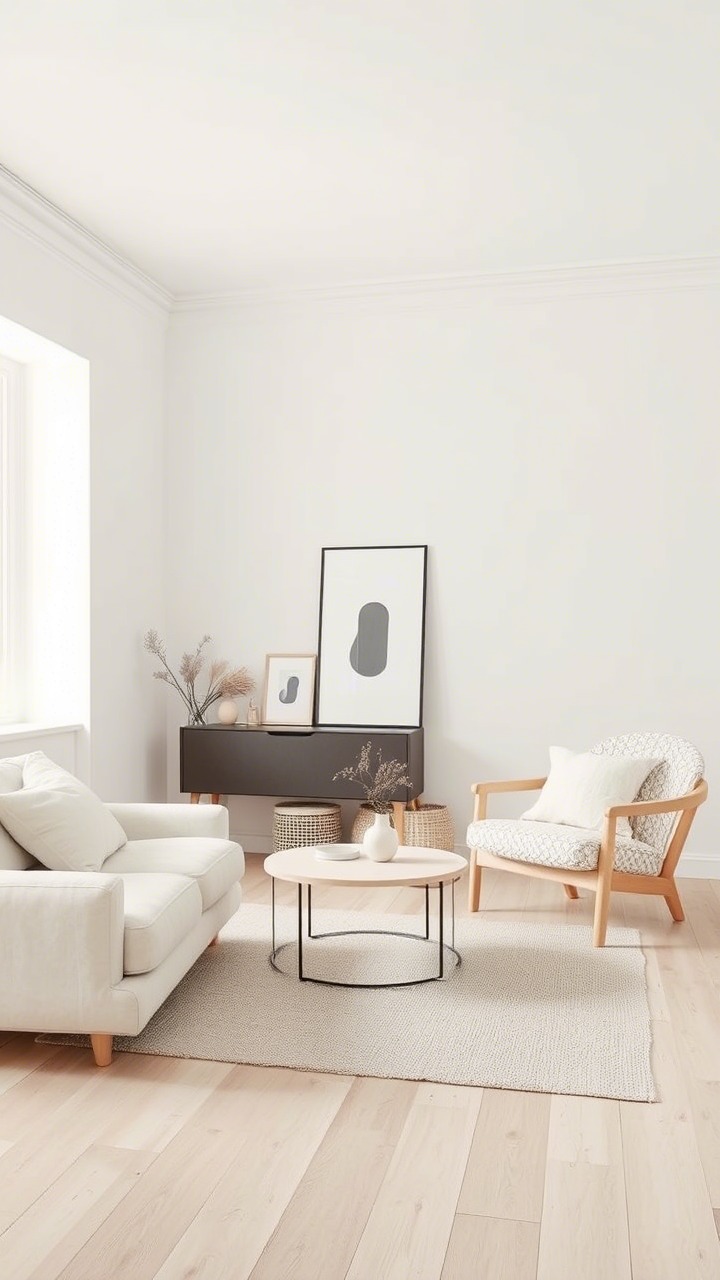
- The Idea: For a subtle but artistic DIY touch, try very fine painted lines creating a delicate pattern (like a minimalist grid or abstract connections) or a soft color wash technique for a watercolor-like, limewash-esque effect.
- Why It’s Stunning: This “less is more” approach adds artistry and texture without overwhelming, maintaining a clean and serene aesthetic. A color wash adds depth and a gentle, organic feel.
- Best For: Minimalist, Japandi, or Scandinavian-style interiors, bedrooms, meditation spaces, or any room where a calm, uncluttered, and subtly sophisticated look is desired.
- DIY Journey Tips:
- For fine lines, use a very thin artist’s brush and a steady hand, or specialized fine-line painter’s tape.
- For a color wash: dilute your paint with water (for latex paint) or a glazing medium (check paint compatibility). Apply with a large brush or sponge in soft, overlapping, multi-directional strokes over a lighter base coat. Practice on a sample board first to perfect your technique.
16. Honeycomb / Hexagon Pop: Trendy & Geometric Fun
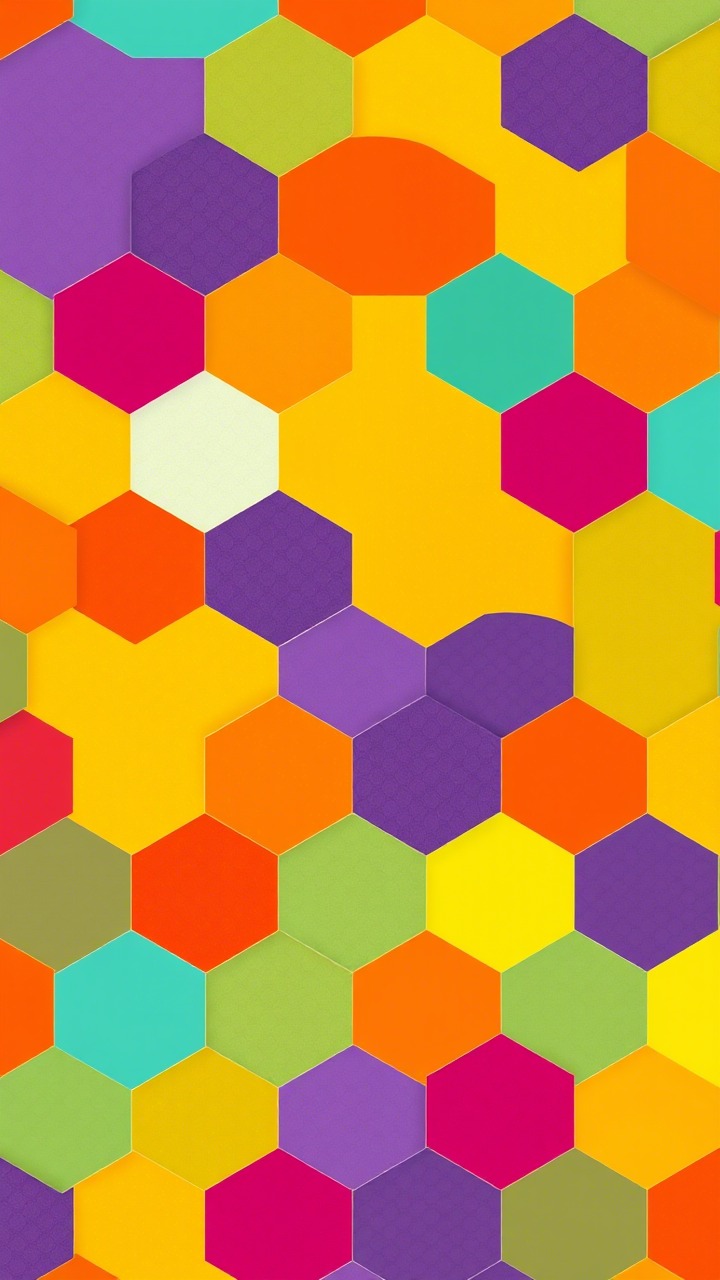
- The Idea: Create a modern and playful feature wall using hexagon shapes. You can paint individual hexagons in various colors, create an ombre effect within the pattern, or outline them for a more graphic look.
- Why It’s Stunning: Hexagons are a trendy geometric shape that adds instant visual interest and a contemporary vibe. The pattern can be as bold or as subtle as you like.
- Best For: Accent walls in living rooms, home offices, kids’ rooms, or even hallways.
- DIY Journey Tips:
- Use hexagon stencils for perfectly uniform shapes. You can buy these or make your own from sturdy cardboard or Mylar.
- Alternatively, carefully measure and use painter’s tape to create the hexagon outlines. This requires more patience but gives crisp lines.
- Plan your color scheme and layout beforehand. You could even leave some “empty” hexagons (showing the base wall color) for a more dynamic effect.
17. Scalloped Edge Charm: Soft & Playful Borders
- The Idea: Add a touch of softness and whimsy with a scalloped edge paint treatment. This can be used along the top of a half-painted wall, as a border around a room, or to frame a specific area like a reading nook or a crib.
- Why It’s Stunning: Scalloped edges provide a charming, slightly retro, or cottage-core feel. They are a delightful alternative to straight lines and add a unique, handcrafted touch.
- Best For: Nurseries, children’s rooms, bedrooms, bathrooms, or any space where you want to introduce a softer, more playful design element.
- DIY Journey Tips:
- Create a template for your scallop using a plate, bowl, or by drawing half a circle on cardboard and cutting it out.
- Trace the template repeatedly along your desired line using a pencil.
- Carefully paint along the traced scalloped line with a small angled brush for precision. Alternatively, some patient DIYers use specialized flexible painter’s tape or cut standard tape into small strips to follow the curves.
18. Color Drenching Immersion: Bold Monochromatic Statement
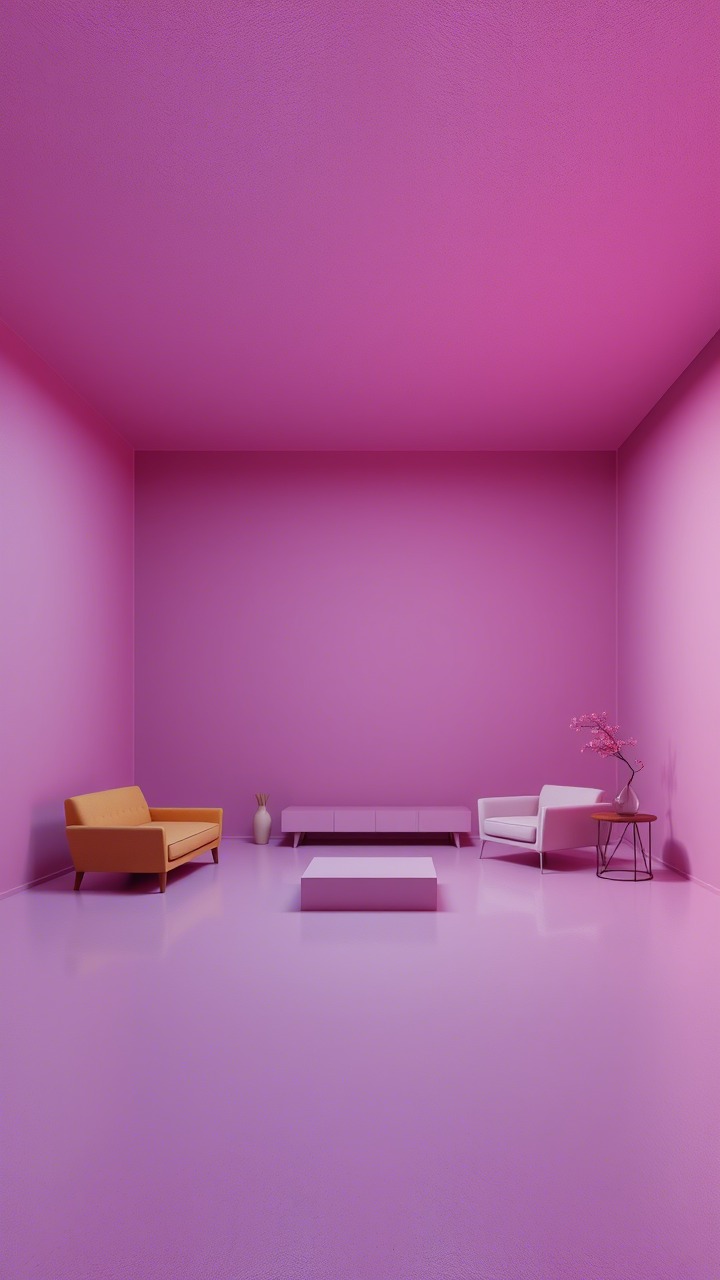
- The Idea: A truly immersive and contemporary DIY statement. Paint the walls, trim (baseboards, window frames, door frames), doors, and sometimes even the ceiling in the same color, or very closely related shades of the same color.
- Why It’s Stunning: Color drenching creates a cohesive, sophisticated, and enveloping atmosphere. It can make a room feel larger by blurring the lines between surfaces, and it allows textures and furnishings to take center stage. It’s a bold move that yields high impact.
- Best For: Bedrooms (for a cozy cocoon effect), living rooms, dining rooms, home offices, or smaller rooms where you want to make a dramatic statement.
- DIY Journey Tips:
- Choose your color wisely – this look is intense. Medium to dark muted tones, as well as rich jewel tones, often work beautifully.
- Varying the sheen can add subtle dimension (e.g., matte or eggshell on walls, satin or semi-gloss on trim and doors in the same color).
- Good surface preparation on all elements (walls, trim, doors) is essential for a polished look. This technique requires commitment but the payoff is a designer feel.
Your Walls, Your DIY Masterpiece: Time to Begin!
Embarking on a DIY wall painting journey is an empowering experience. It’s your chance to experiment, to learn, and to create a home that is a true reflection of your personality and style. Don’t be afraid to try something new or to combine elements from different ideas. The most important thing is to have fun with the process!
With a bit of planning, the right tools, a dash of patience, and these inspiring ideas, you can transform any room from ordinary to extraordinary. So, which of these 18 stunning wall painting ideas has sparked your imagination for your next DIY project? Grab your supplies, turn up your favorite music, and let your creative adventure begin!
Frequently Asked Questions
- Q: I’m a beginner DIY painter. Which of these ideas are best to start with?
A: Great starting points include the Classic Accent Wall (#1), Half-Painted Walls (#5), Subtle Stripes (#9) if you’re patient with taping, or Polka Dots/Confetti Walls (#10) using simple stencils or freehand dots. These offer big impact with relatively straightforward techniques. - Q: What are the absolute essential supplies for most DIY wall painting projects?
A: You’ll need: good quality paint and primer, high-quality painter’s tape, paintbrushes (angled sash for edges, various sizes), paint rollers and roller covers (appropriate nap length for your wall texture), paint trays and liners, drop cloths or plastic sheeting, a paint can opener, stir sticks, a cleaning solution for walls, and rags/paper towels. A ladder and a level are also very helpful. - Q: How crucial is wall preparation for a successful DIY paint design?
A: It’s the MOST crucial step! No matter how creative your idea, if the walls aren’t clean, smooth, and properly primed, your paint job won’t look its best or last as long. Fill holes, sand imperfections, wash the walls, and use a quality primer. - Q: How can I ensure I get really crisp, clean lines for geometric designs or stripes?
A: Use high-quality painter’s tape (like FrogTape). Apply it firmly, burnishing the edge with a putty knife or credit card. For an extra guarantee, paint a thin coat of your base wall color along the tape’s edge first. Let it dry. Any bleed will be in the base color. Then paint your new design color. Remove the tape when the design color is still slightly tacky, pulling it away slowly at a 45-degree angle. - Q: Can I use stencils for more intricate DIY designs if I’m not artistic?
A: Absolutely! Stencils are a fantastic tool for DIYers. You can find them for geometric shapes (like hexagons #16), botanical elements, lettering, and intricate patterns. They help achieve consistent and professional-looking results with minimal artistic skill required. - Q: How do I choose the right paint colors that will work well together for a multi-color design?
A: Look at a color wheel for inspiration. Analogous colors (next to each other) create a harmonious look. Complementary colors (opposite each other) create high contrast and drama. Monochromatic schemes (different shades and tints of one color) are sophisticated. Always test paint samples on your wall first! - Q: What’s the best way to fix mistakes during my DIY paint project?
A: For small, fresh latex paint smudges, quickly wipe with a damp cloth. If paint bleeds under tape, let it dry, then carefully touch up with a small artist’s brush and the original trim/wall color. For larger mistakes, you might need to let the area dry, lightly sand it smooth, prime if needed, and repaint. Patience is key! - Q: How long should I wait for one paint color to dry before applying tape over it for the next color in my design?
A: This is important! While paint may be dry to the touch in a few hours, it needs to cure to fully harden. Wait at least 24 hours (check the paint can – some recommend longer) before applying painter’s tape over a newly painted surface. Using a “delicate surface” painter’s tape is advisable to prevent peeling off the fresh paint. - Q: I love the idea of a mural (#11) but can’t draw. Any DIY-friendly alternatives?
A: Yes! Consider using large-scale wall decals that mimic a mural. Another option is to use a projector to trace a design onto the wall, then fill it in with paint like a giant paint-by-numbers. You could also create a simple abstract mural with large blocks or sweeps of color, which is more about expression than precise drawing.
Leave a Reply